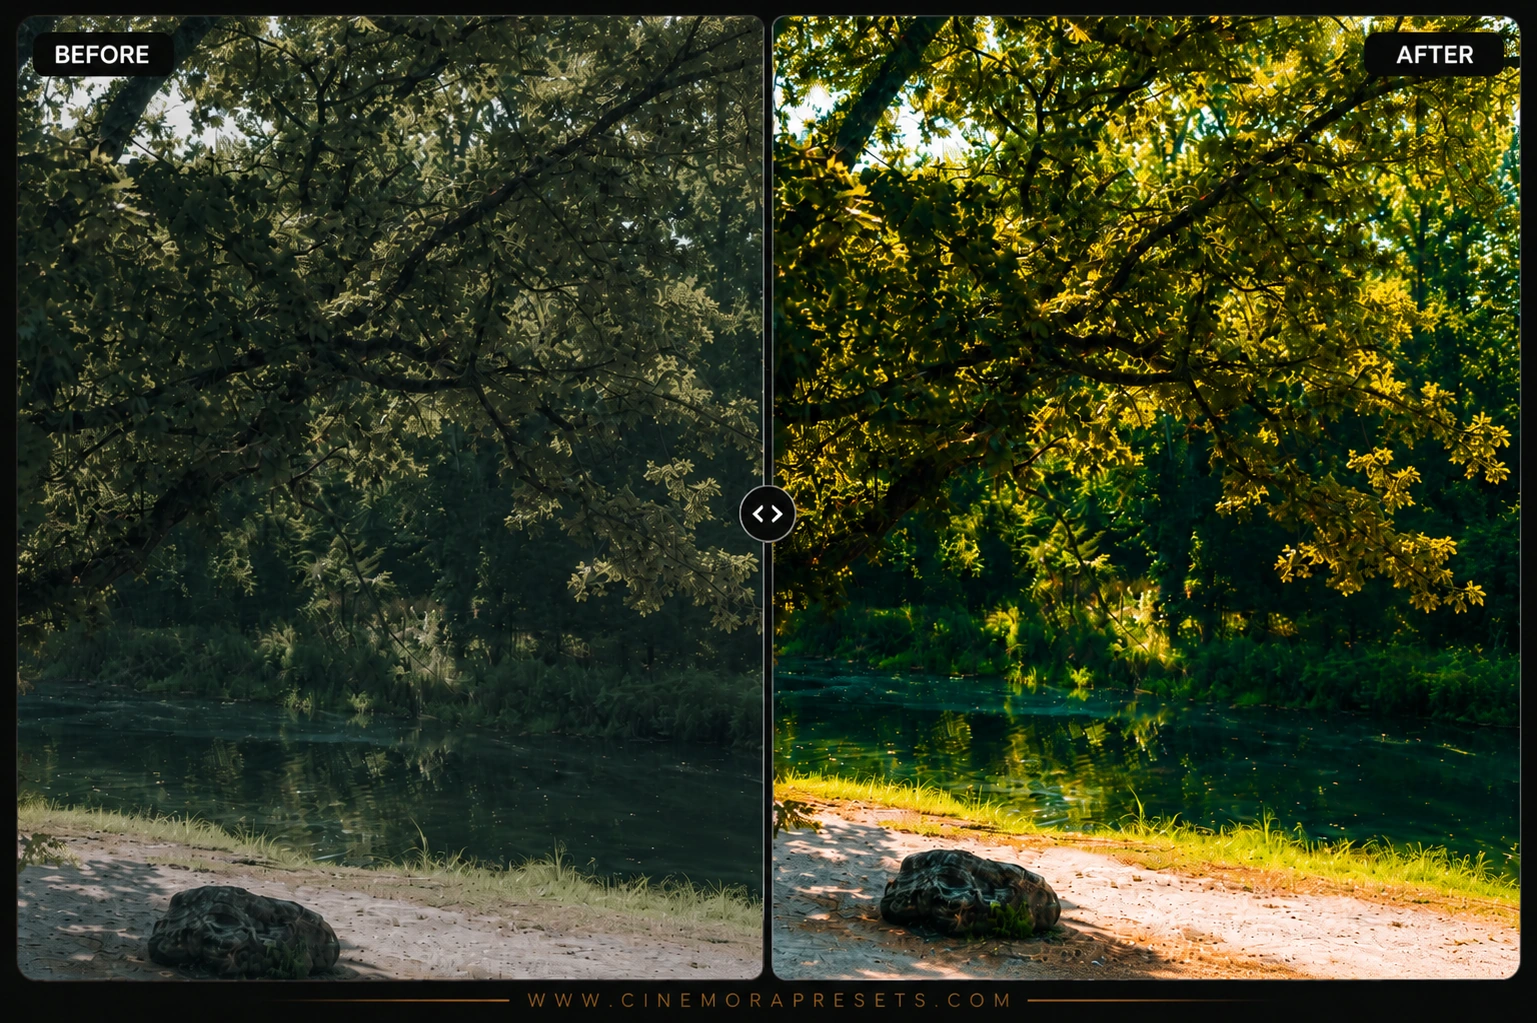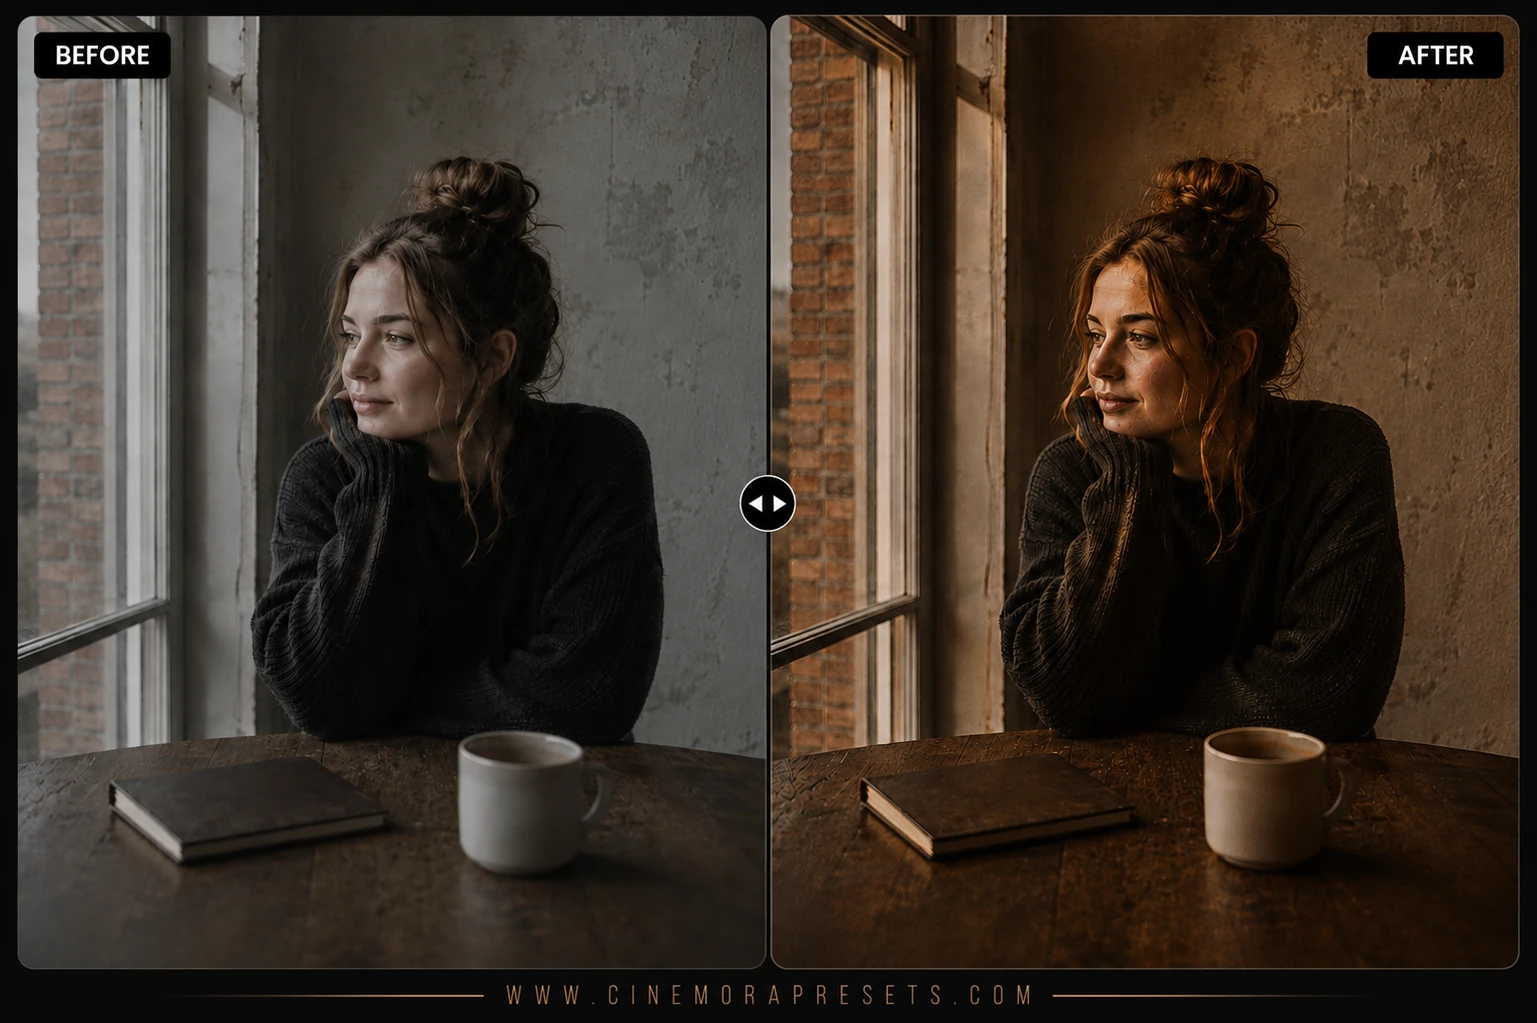
I've always been drawn to photos that tell a story through shadow and mystery. There's a fine line between a beautifully moody image and one that simply looks underexposed or muddy. I created this collection of presets to help you find that perfect balance.
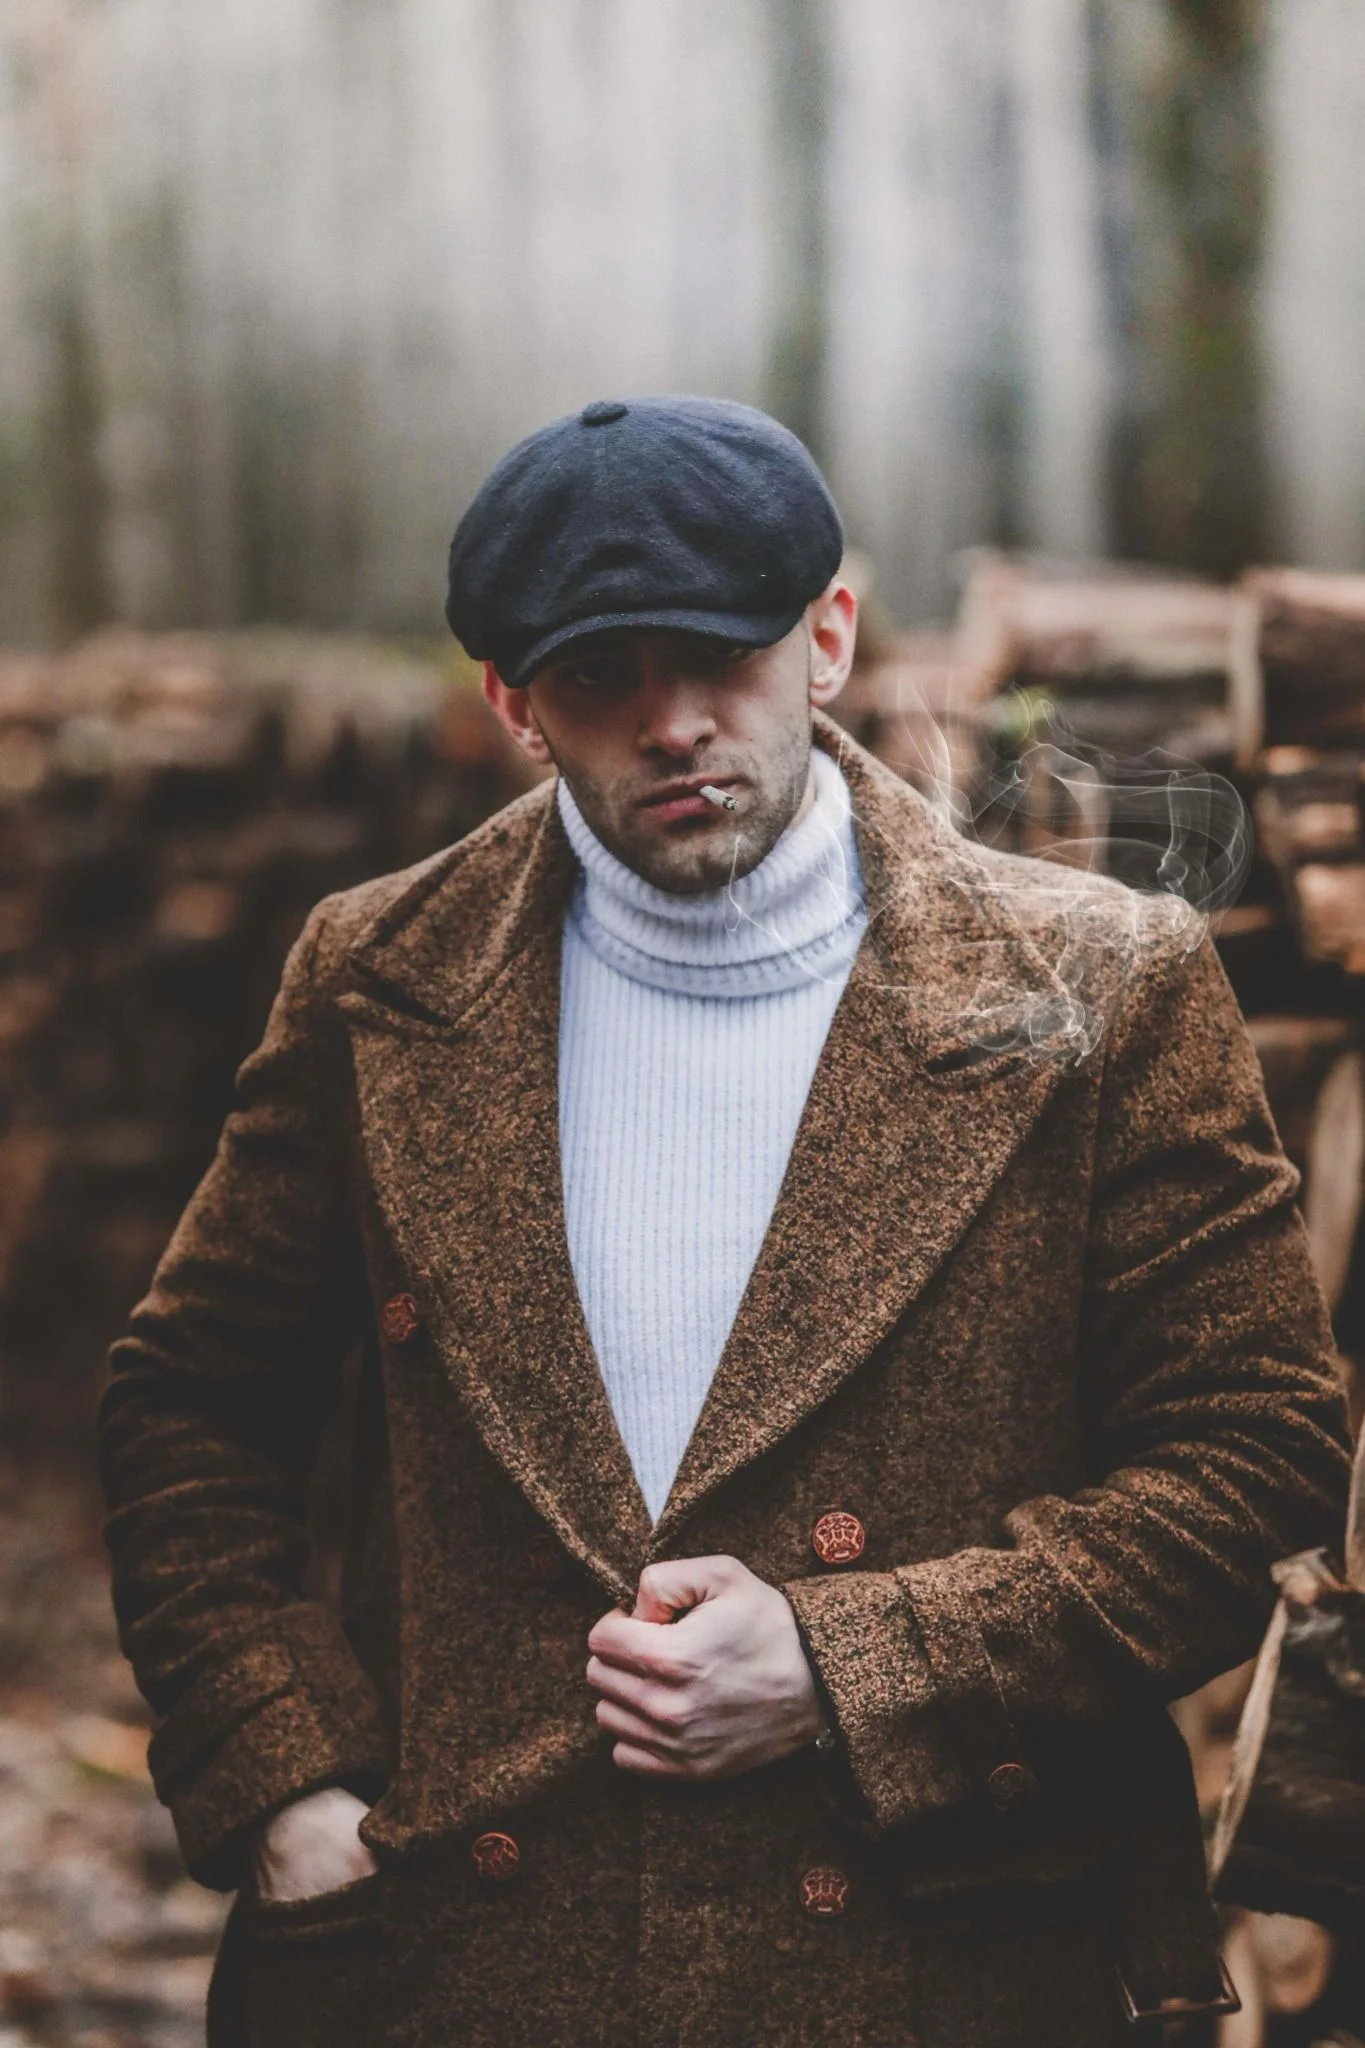
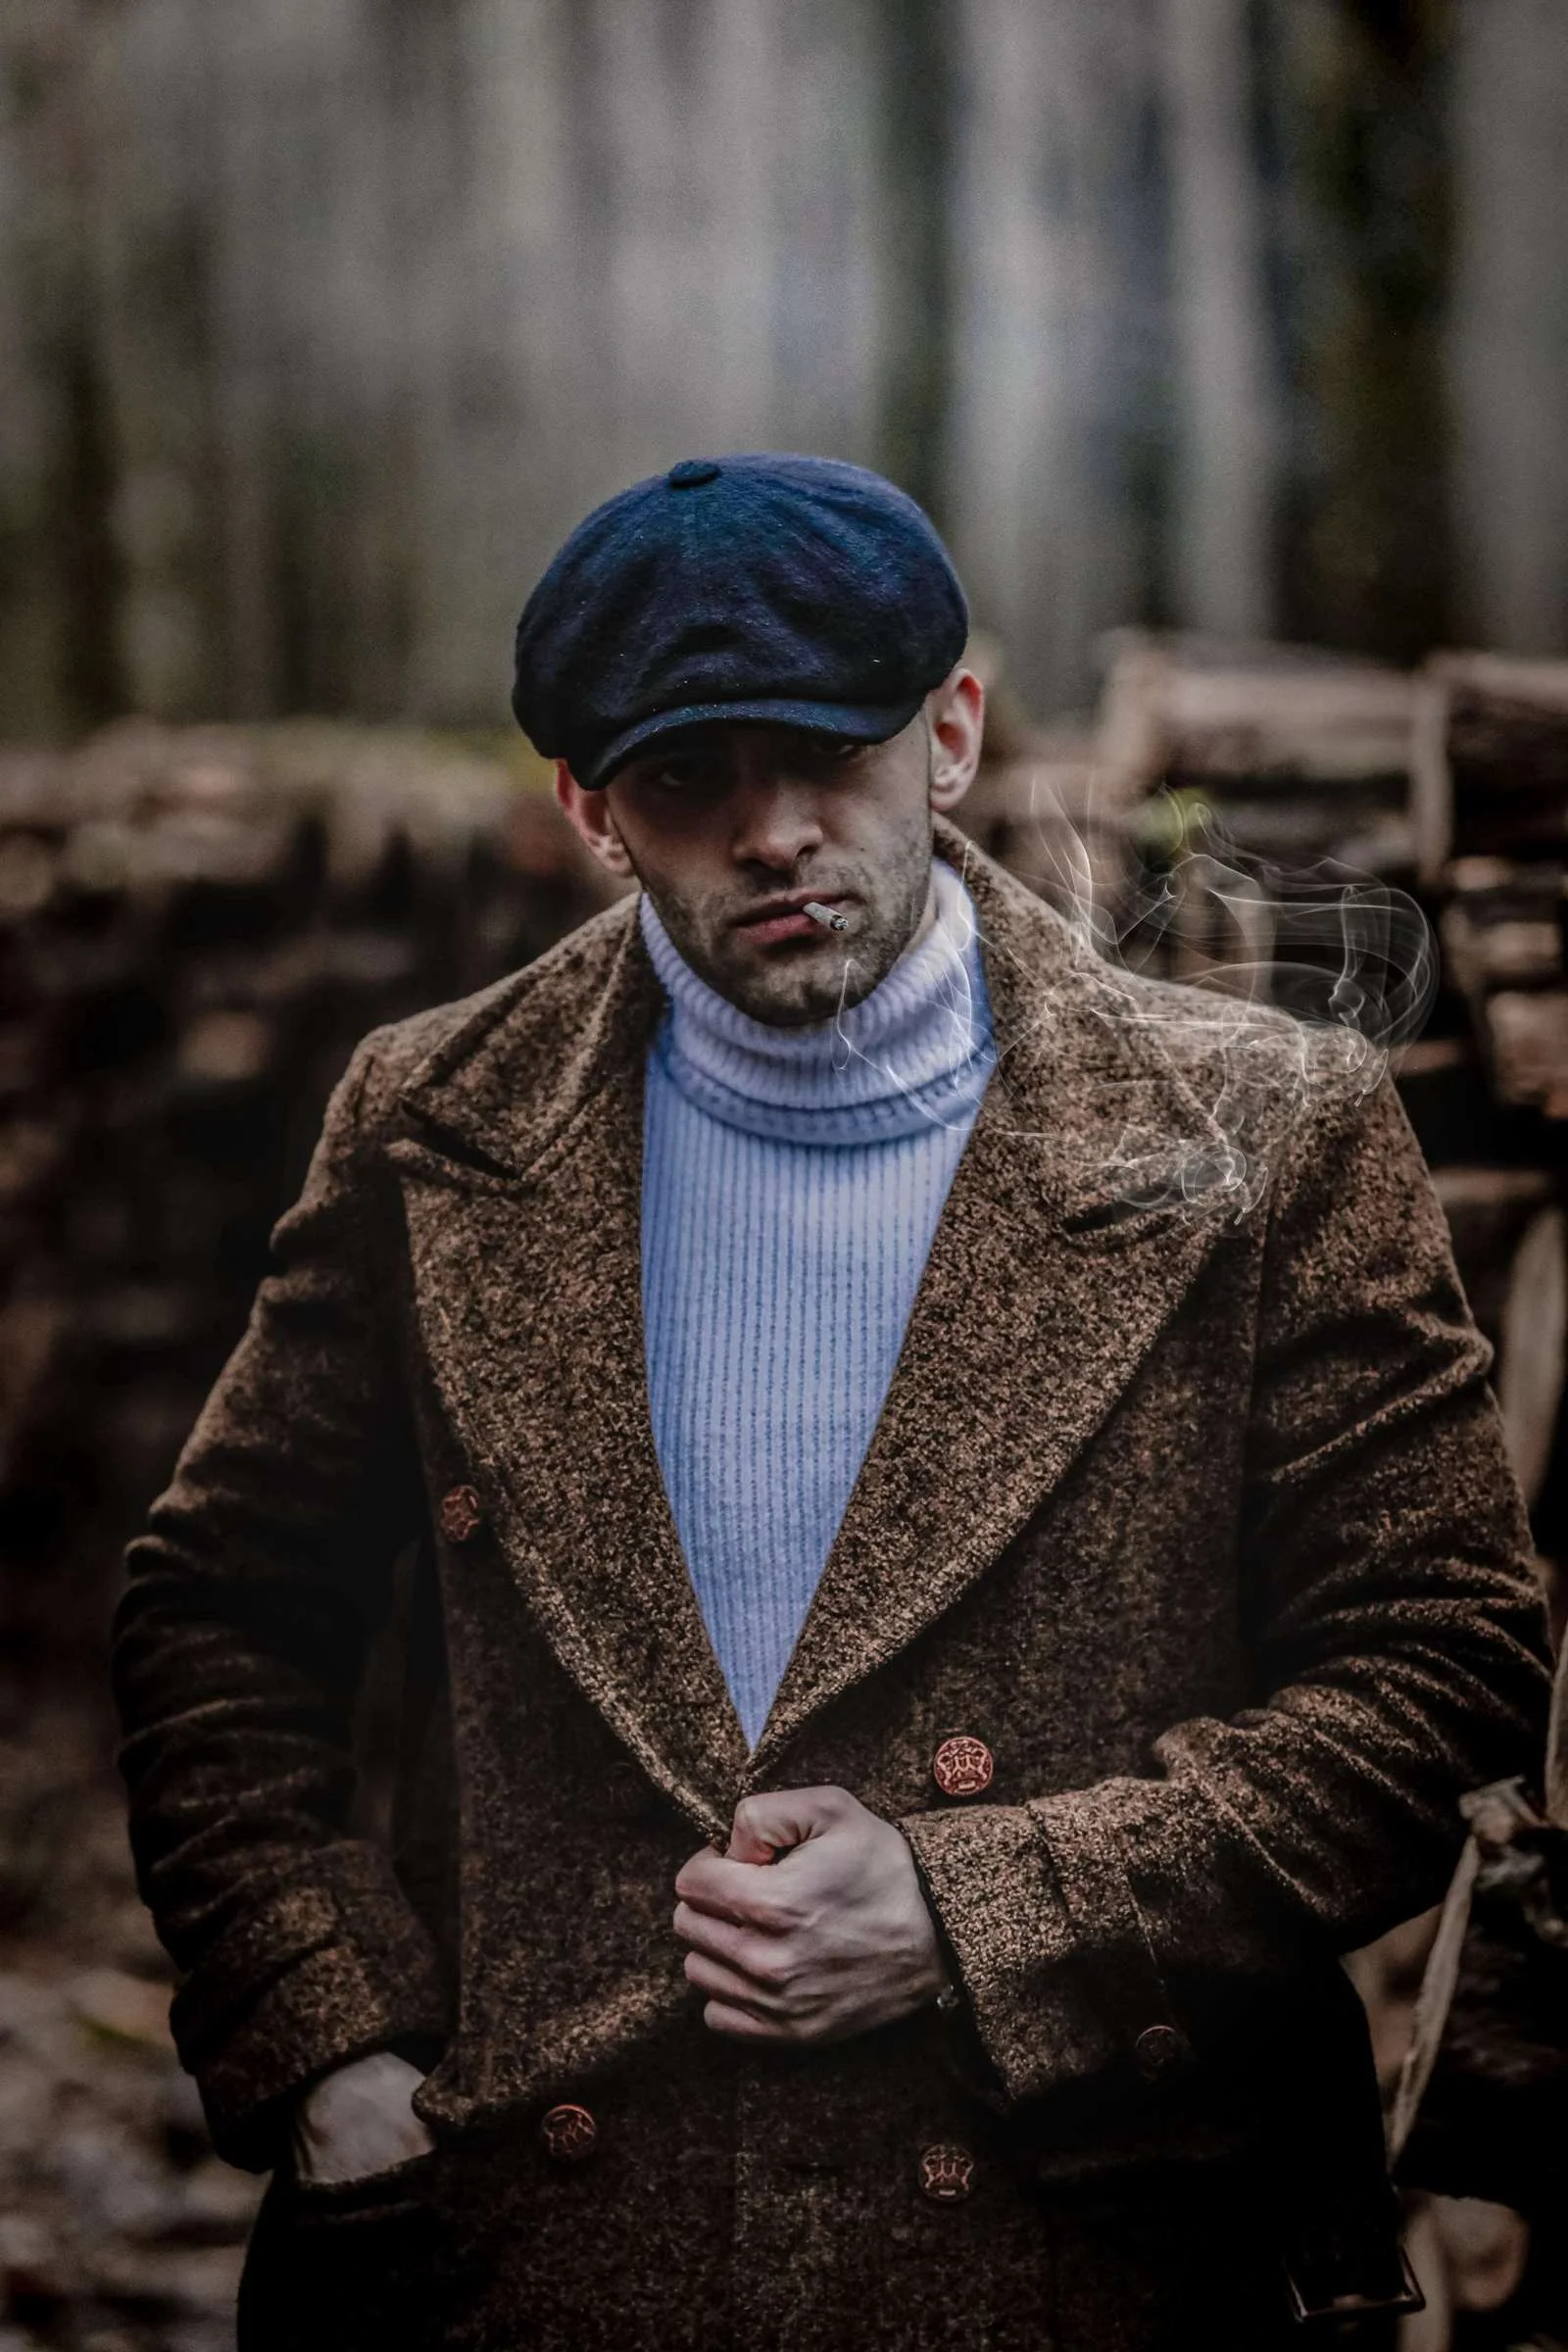
These filters are designed to crush the highlights, fade the blacks, and introduce gorgeous, desaturated color harmonies that evoke deep emotion. I love using these on rainy afternoons, foggy mornings, or when capturing quiet, introspective moments in the city.
I want your moody edits to look polished and intentional on every display, which is why these free atmospheric presets are delivered in the modern, universal XMP format. By utilizing the updated Lightroom rendering engine, they apply identical matte curves and color shifts across both your mobile phone and desktop computer, keeping your visual aesthetic beautifully cohesive.
Master the Moody Aesthetic
Creating atmospheric, moody edits is about subtraction, not addition. By selective color removal and controlling where your viewer's eye travels, you can completely transform the emotional weight of a photo.
Here are my top techniques for editing with these moody presets:
Deep Moody Shadow Lightroom Preset Settings & Slider Values
Exposure: -0.18 | Contrast: -18 | Highlights: -55 | Shadows: +18 | Whites: -8 | Blacks: -35 | Texture: +10 | Clarity: +45 | Saturation: -20 | Vignette: -18
To get more rich, low-key shadows, try our specialized Dark Smoky presets.
1. The Power of Desaturation
One of the key secrets of the moody aesthetic is desaturating colors that distract from the main subject. In these presets, I've gently pulled down the saturation of bright yellows and blues. This makes deep forest greens and skin tones stand out beautifully. If you have a highly colored object in your frame that breaks the mood, go to the HSL panel and pull its individual saturation down.
2. Fade Your Blacks
Fading the blacks is done by lifting the bottom-left point of the Tone Curve. This introduces a beautiful matte haze in the shadows, mimicking classic vintage and film styles. It makes the shadows look soft and velvet-like rather than harsh and completely black.
3. Use Radial Gradients for Spotlights
To create a truly professional portrait, use a Radial Gradient in Lightroom, draw an oval over your subject's face, invert the mask, and slightly lower the exposure of the background. This creates a natural, subtle spotlight effect that makes your subject pop from the dark, moody surroundings.
Installation Guide
Setting up these presets on your phone or computer is very simple:
- Download the ZIP file containing the XMP preset files.
- If you need step-by-step instructions for your specific device, follow my guide on how to install Lightroom presets for instant setup help.
What's Included
This atmospheric collection contains custom XMP presets crafted to add cinematic drama and mood to your edits. Here is what is included in the download:
- Rainy Day Presets (cool tones, deep blues, and high contrast)
- Foggy Morning Presets (muted highlights, soft hazy shadows, and green undercurrents)
- Dark Editorial Presets (desaturated warm tones, heavy vignettes, and high clarity)
Preset Style & Color Tone
The core style is built around desaturated color palettes, heavy matte shadows, and cold, atmospheric highlights. Reds and blues are kept rich but dark, while greens are pushed towards deep olive tones. Skin tones are preserved using selective luminance adjustments, ensuring portraits maintain their impact amid the moody surroundings.
Best Photos for This Preset
This pack works exceptionally well on images shot on overcast, rainy, or snowy days. It also looks incredible on low-light portraits, window-lit indoor shots, and foggy forest paths. Avoid using these on bright, flat mid-day sun, as the high-contrast highlights can feel harsh.
After downloading, extract the ZIP file and import the XMP presets into Lightroom.