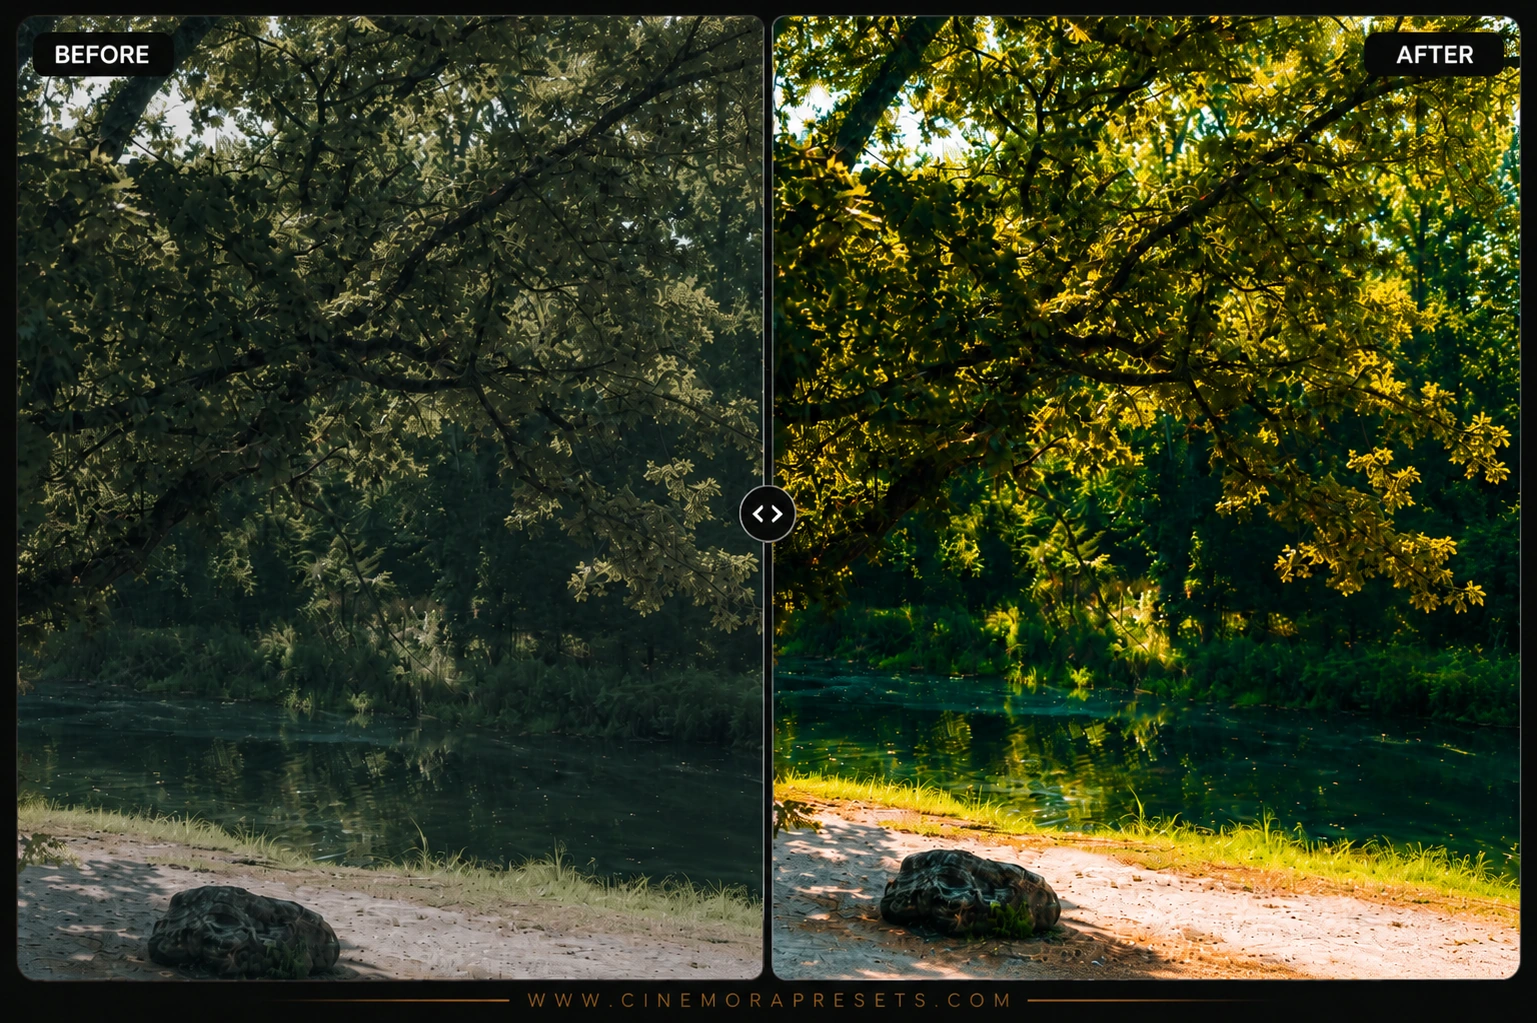
Green is one of the hardest colors to get right when editing. Straight out of the camera, foliage often looks way too bright, neon, or yellow, which makes outdoor photos look unnatural. I created these free Green Lightroom presets to solve this exact problem. They turn harsh greens and yellow grass into clean emerald, sage, and deep forest tones. Whether you are shooting in the woods, taking outdoor portraits, or capturing plant-filled indoor spots, these filters will help you get a clean, cohesive look.
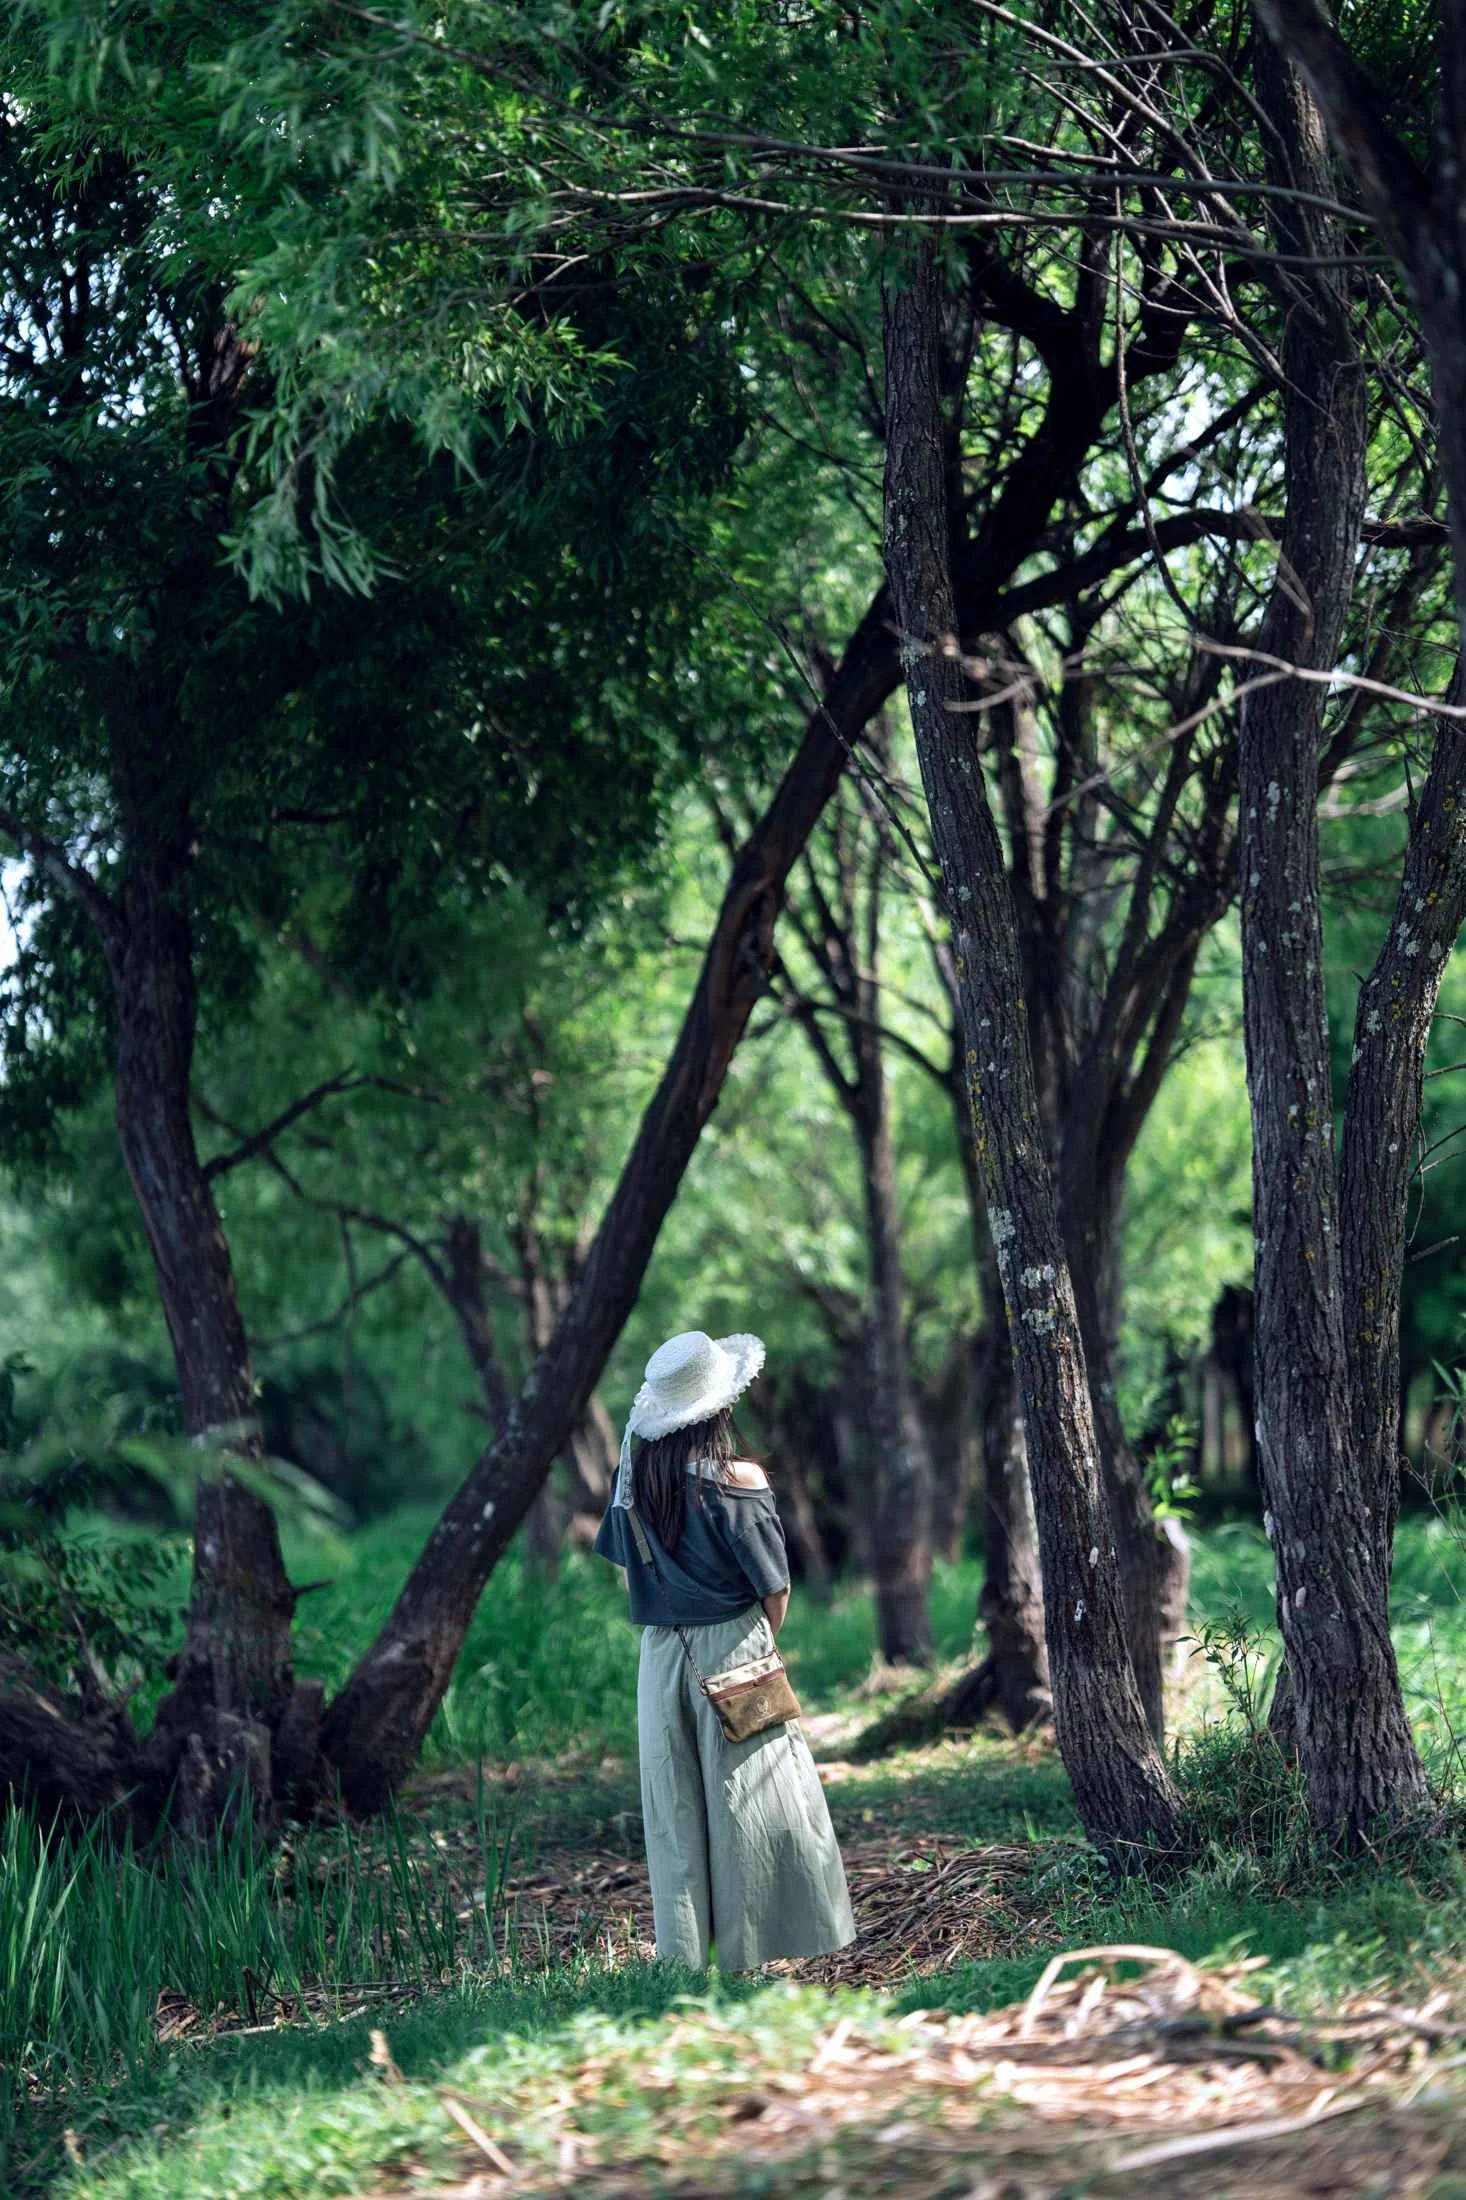
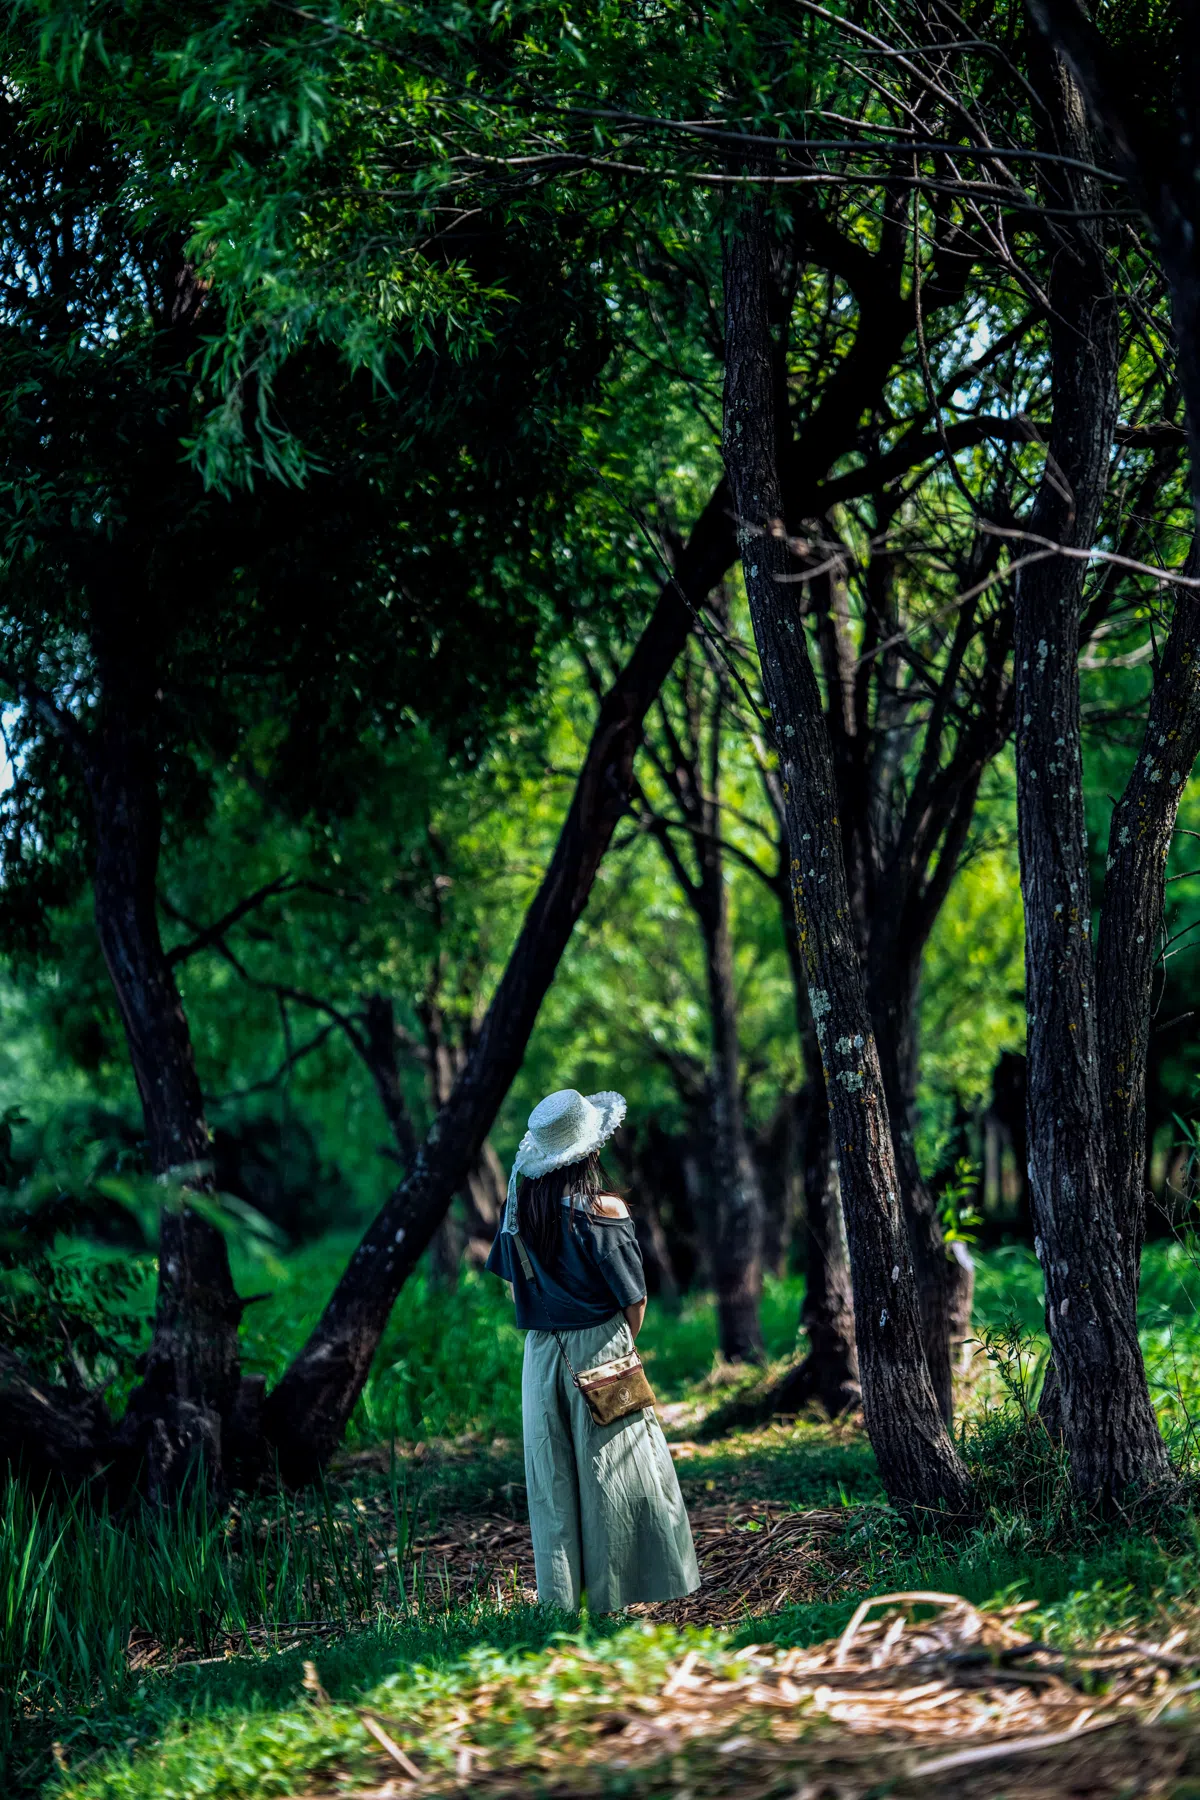
These presets are designed to clean up your green channels by desaturating ugly yellow tones, deepening the shadows, and shifting neon greens into beautiful olive and emerald shades.
They are delivered in the standard XMP format, meaning they work exactly the same on both Lightroom Mobile and Desktop.
How to Edit Greens and Nature Photos
Getting clean greens in your outdoor photos is all about balancing the green and yellow color channels. RAW files usually capture wild greens with way too much yellow, which makes grass look bright and distracting.
Here is a simple workflow to get a clean nature look:
Soft Olive Green Lightroom Preset Settings & Slider Values
Exposure: +0.25 | Contrast: +18 | Highlights: -18 | Shadows: +24 | Whites: +14 | Blacks: -12 | Clarity: +12 | Saturation: +8
To get other deep earth tones, try our moody Deep Moody Shadow presets.
1. Shift the Yellow-Green Hue
To get a rich forest style, you need to separate your greens from your yellows. In Lightroom's Color Mixer / HSL panel:
- Go to the Hue tab.
- Move the Yellow slider toward Green (around +20) to turn dry, yellow grass into a cleaner green.
- Move the Green slider toward Aqua (around +15 to +25) to give your leaves a cool emerald tone.
2. Lower the Saturation of Distracting Colors
A clean look relies on keeping your colors under control. In the Saturation tab:
- Lower the Yellow saturation (-20 to -40) to get rid of bright grass glare.
- Lower the Green saturation slightly (-10 to -20) to avoid a cheap, neon look. Slightly desaturated greens look much more professional and natural.
- Increase the Luminance of greens slightly (+10) to make the leaves glow softly in the dark shadows.
3. Add Cool Tones to the Shadows
Using the Color Grading panel, push a tiny bit of blue or teal into the shadows wheel. This contrasts nicely with the warm highlights from natural sunlight, giving your photo a beautiful cinematic feel.
Installation Guide
Setting up these presets on your phone or computer is very simple:
- Download the ZIP file containing the XMP preset files.
- If you need step-by-step instructions for your specific device, follow my guide on how to install Lightroom presets for instant setup help.
What's Included
This green-grading pack comes with custom presets to handle different lighting setups and foliage:
- Emerald Boost Presets (made to clean up leaf colors and bring out deep, rich plant textures)
- Moody Jungle Presets (darkens background shadows to create a clean, moody nature vibe)
- Sage & Moss Presets (softens bright greens, shifting them toward a flat, matte sage tone)
Preset Style & Color Tone
The overall style shifts greens away from ugly yellow tones and toward cooler blue-emerald and sage. It slightly darkens the shadows for extra depth and softens bright highlights so the light filtering through leaves looks clean and natural.
Best Photos for This Preset
These work best for forest landscapes, outdoor portraits surrounded by plants, plant-filled cafes, and travel shots. They perform best in soft, overcast light or in the shade, where the camera naturally preserves the details in the leaves.
After downloading, extract the ZIP file and import the XMP presets into Lightroom.