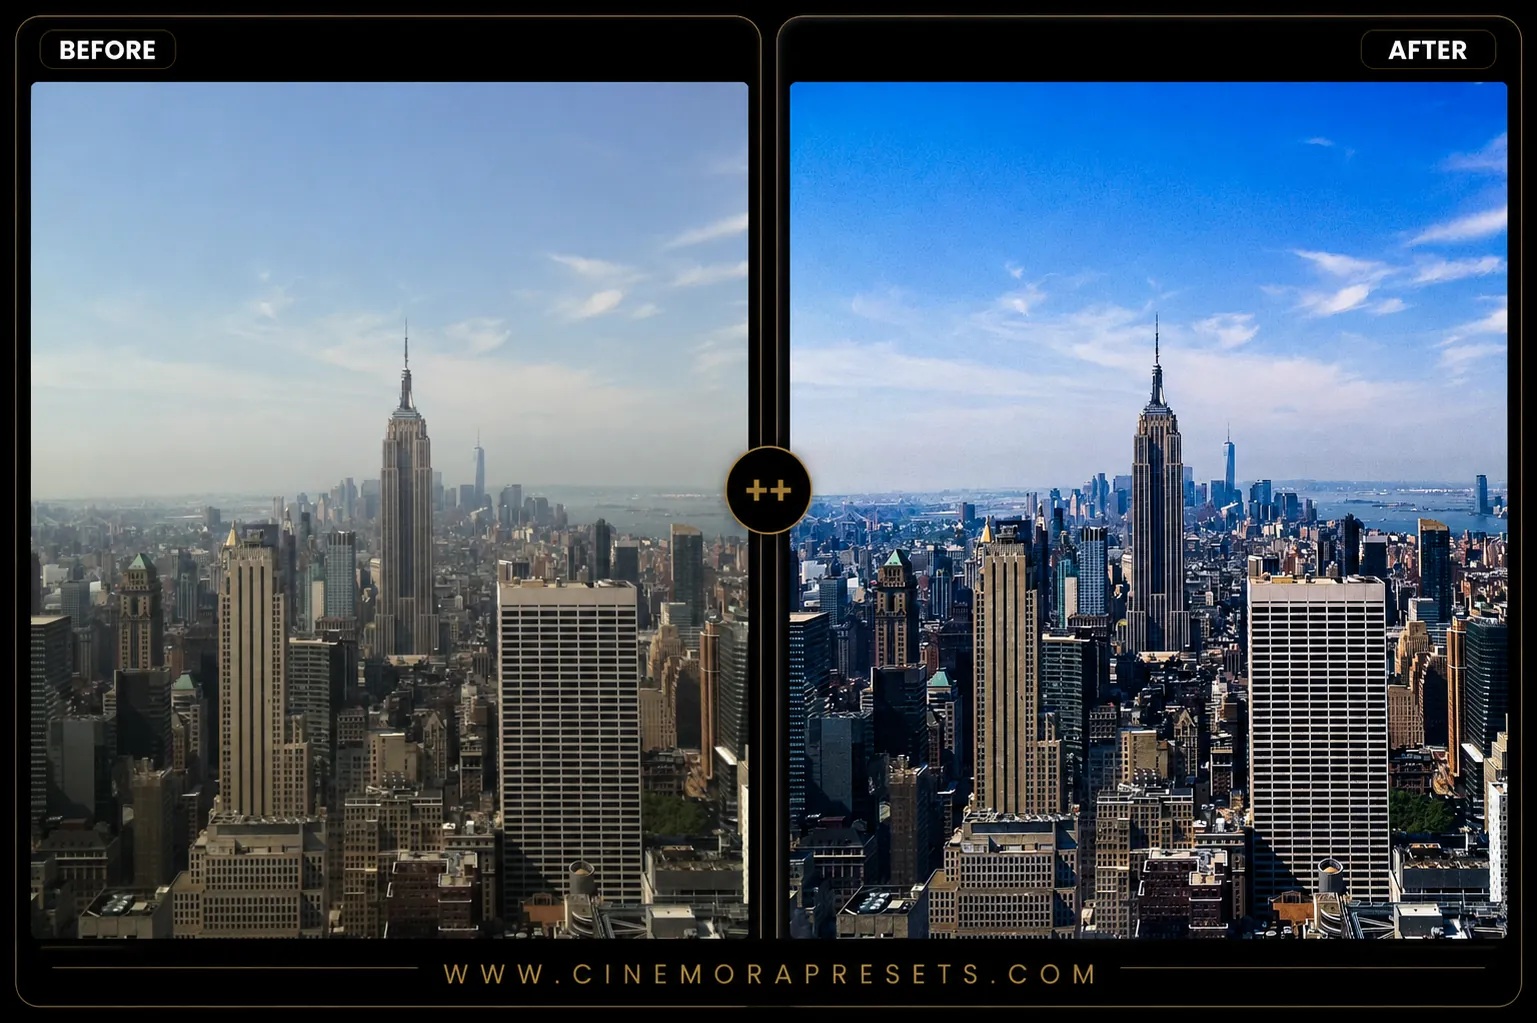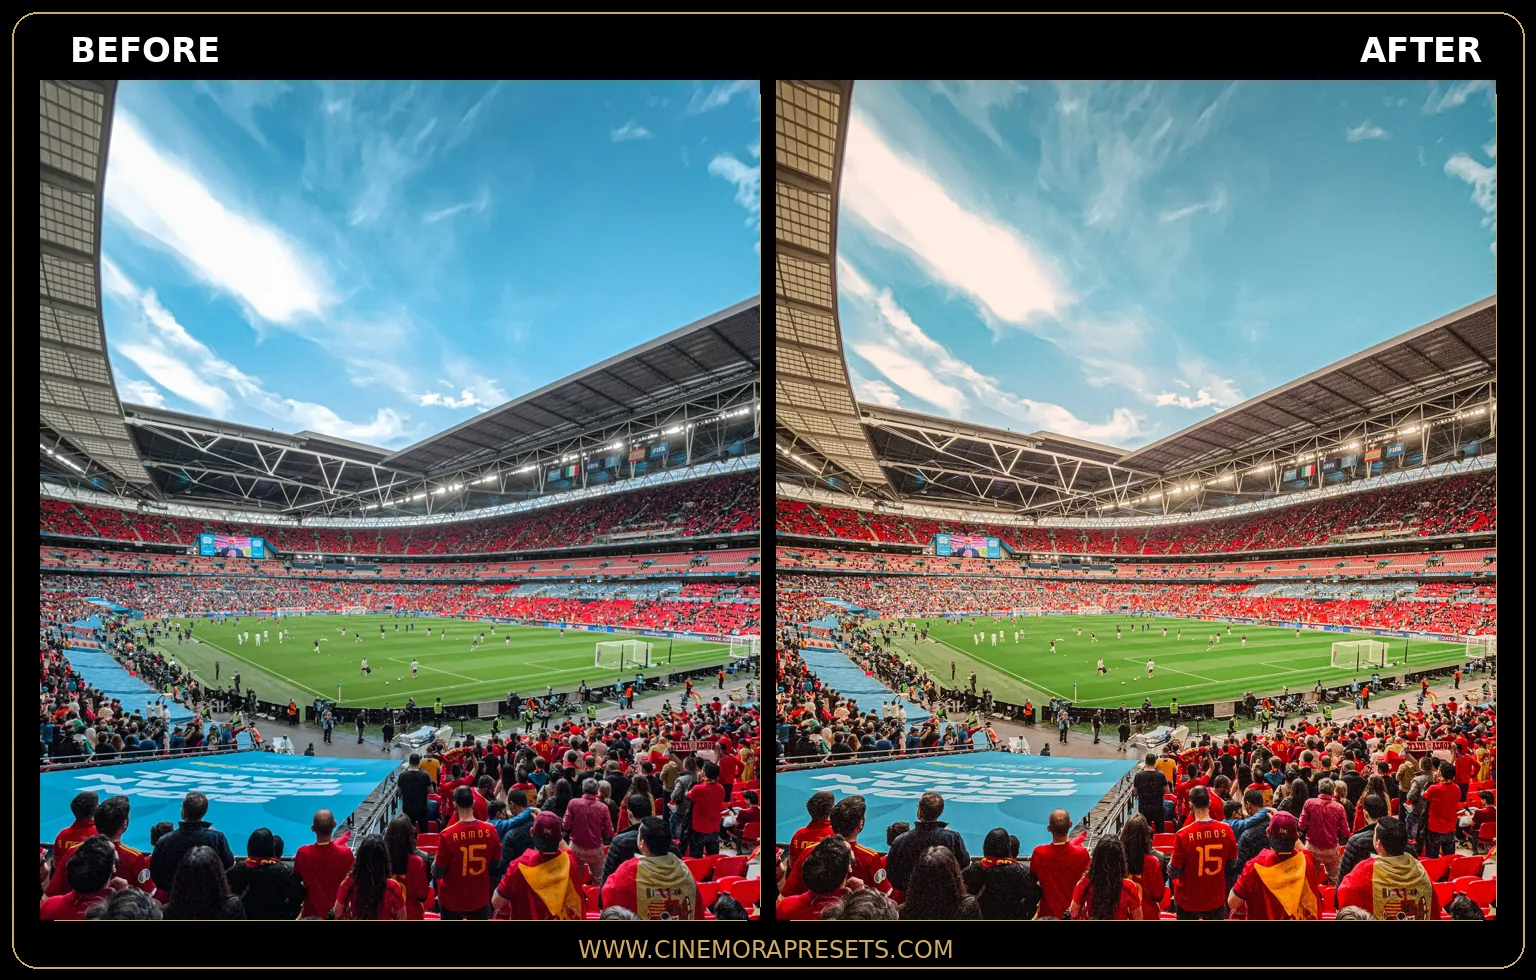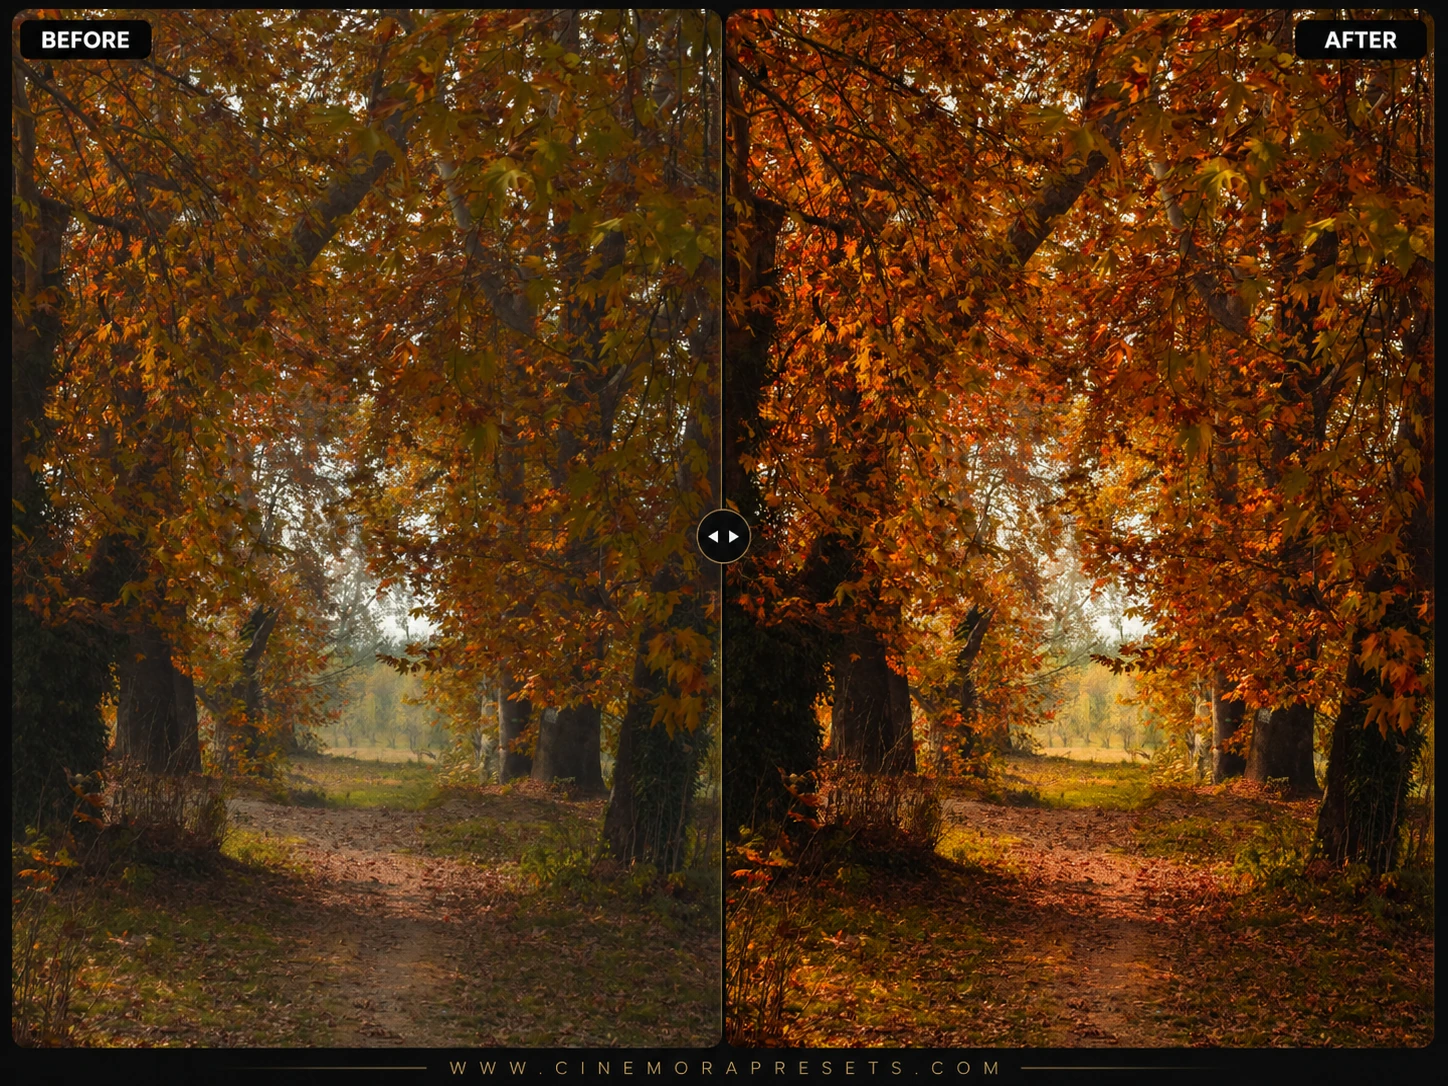
As a landscape photographer, capturing a scene with high contrast — like a sunset behind a dark mountain range — is one of the most frustrating challenges. Pushing exposure too high blows out the sky, and dropping it too low leaves the foreground completely pitch black. I spent months building these HDR presets to solve this exact problem.


My goal was to create a set of presets that mimic the effect of multi-exposure HDR bracketing, but using a single RAW file. These presets selectively lift deep shadows and recover highlights while maintaining a clean, natural contrast.
To keep your landscape editing seamless, these HDR presets are delivered in the modern, universal XMP format, giving you identical highlight recovery and shadow detail on both your desktop monitor and mobile devices.
Capturing Balanced HDR Landscapes
The key to successful HDR editing is keeping the final image believable. Pushing highlights and shadows to their extremes can make a photo look cheap or over-processed.
Here is how I use this HDR pack for premium outdoor results:
High Dynamic Range Lightroom Preset Settings & Slider Values
Exposure: -0.05 | Contrast: +48 | Highlights: -60 | Shadows: +45 | Whites: +22 | Blacks: -20 | Texture: +18 | Clarity: +34 | Saturation: +8 | Vignette: -5
For other high-fidelity outdoor edits, match these with our vibrant Landscape presets.
1. Clean Up the Highlights First
If the sky is extremely bright, the preset will do its best to recover details, but you may need to manually dial the Highlights or Whites slider down slightly to match the dynamic range of your specific RAW file. Use our Image Metadata Viewer to check whether your photo is RAW or JPEG and inspect its exposure settings.
2. Balance Exposure
Because these presets lift shadows significantly, your overall image might look slightly brighter than intended. Use the Exposure slider to find the perfect middle ground between highlight protection and foreground visibility.
3. Apply Selective Contrast
To make your subject stand out, use the Clarity and Dehaze sliders in Lightroom. Pushing Clarity slightly adds midtone contrast, which gives the HDR recovery a sharp, premium texture.
Installation Guide
Setting up these presets on your phone or computer is very simple:
- Download the ZIP file containing the XMP preset files.
- If you need step-by-step instructions for your specific device, follow my guide on how to install Lightroom presets for instant setup help.
What's Included
This professional dynamic pack contains free high-performance HDR presets, each calibrated to balance exposure extreme differentials and reveal hidden textures. Here is what you get:
- Ultra Dynamic Presets (for high-contrast landscapes, intense sunset gradients, and maximum detail extraction)
- Balanced HDR Presets (calibrated for a softer, natural recovery of highlights and shadows, perfect for general travel scenes)
Preset Style & Color Tone
These presets focus on providing ultra-rich details, lifted shadows, recovered highlights, and high local contrast (clarity). The colors are kept rich and saturated, ensuring a deep and brilliant tone without introducing the fake, halo-heavy cartoonish look common in bad HDR software.
Best Photos for This Preset
These presets shine on high-contrast outdoor scenes, sunset landscapes, real estate interiors with bright windows, and detailed urban architecture. For maximum results, shoot in RAW format to allow the curves to extract maximum data from the file's dynamic range.
After downloading, extract the ZIP file and import the XMP presets into Lightroom.