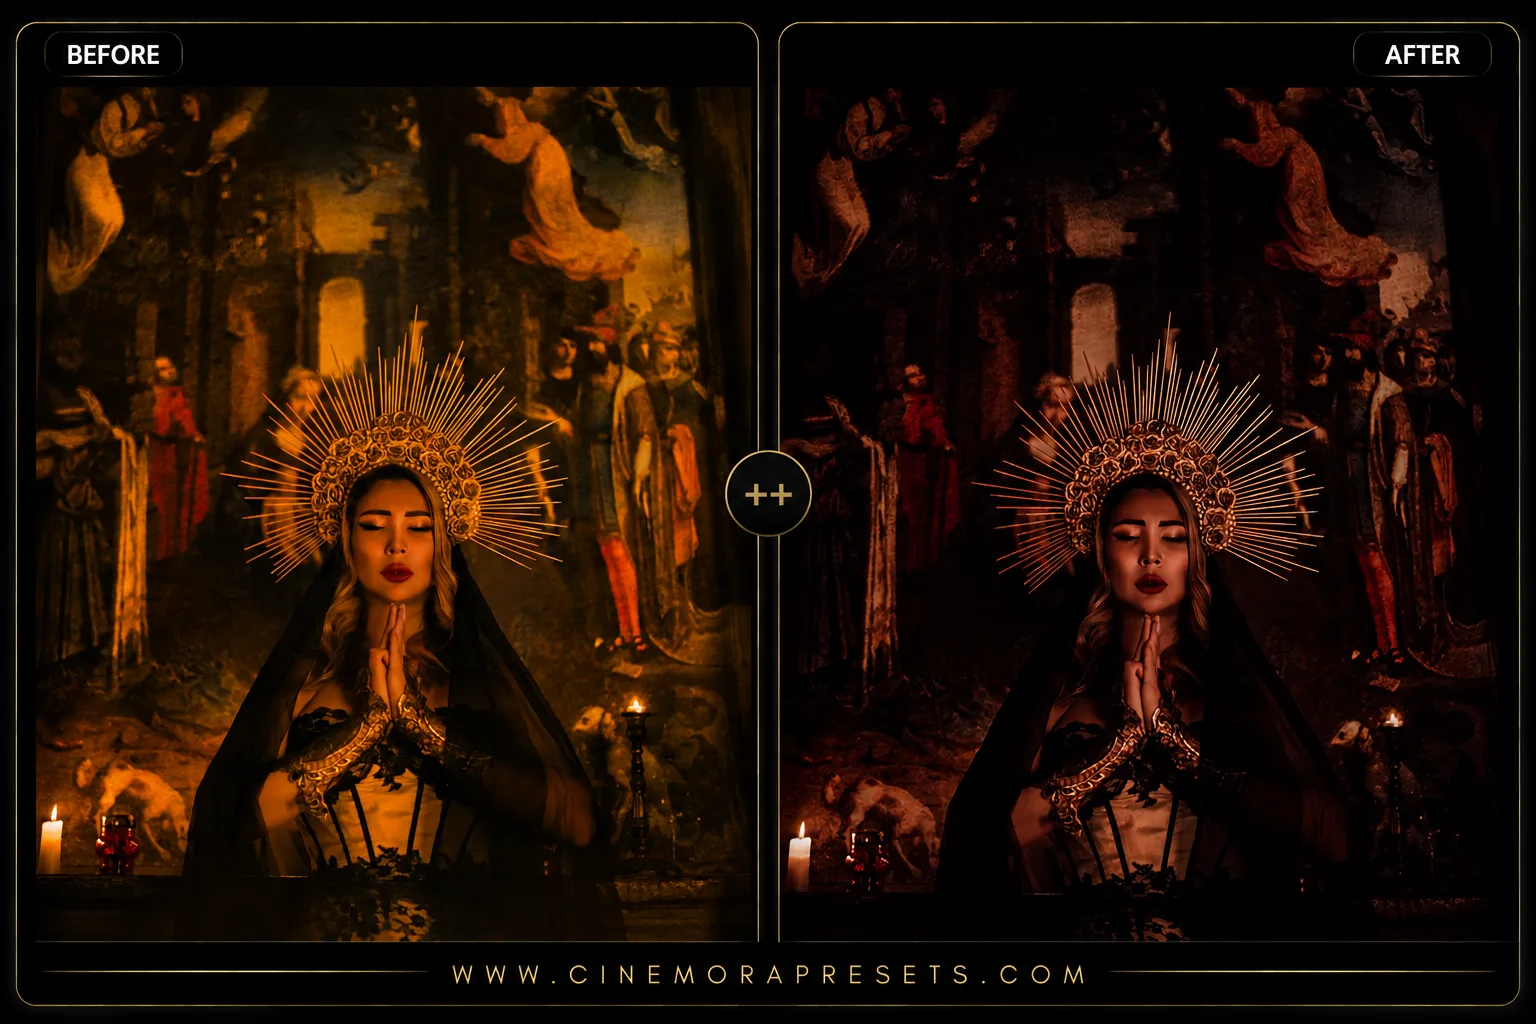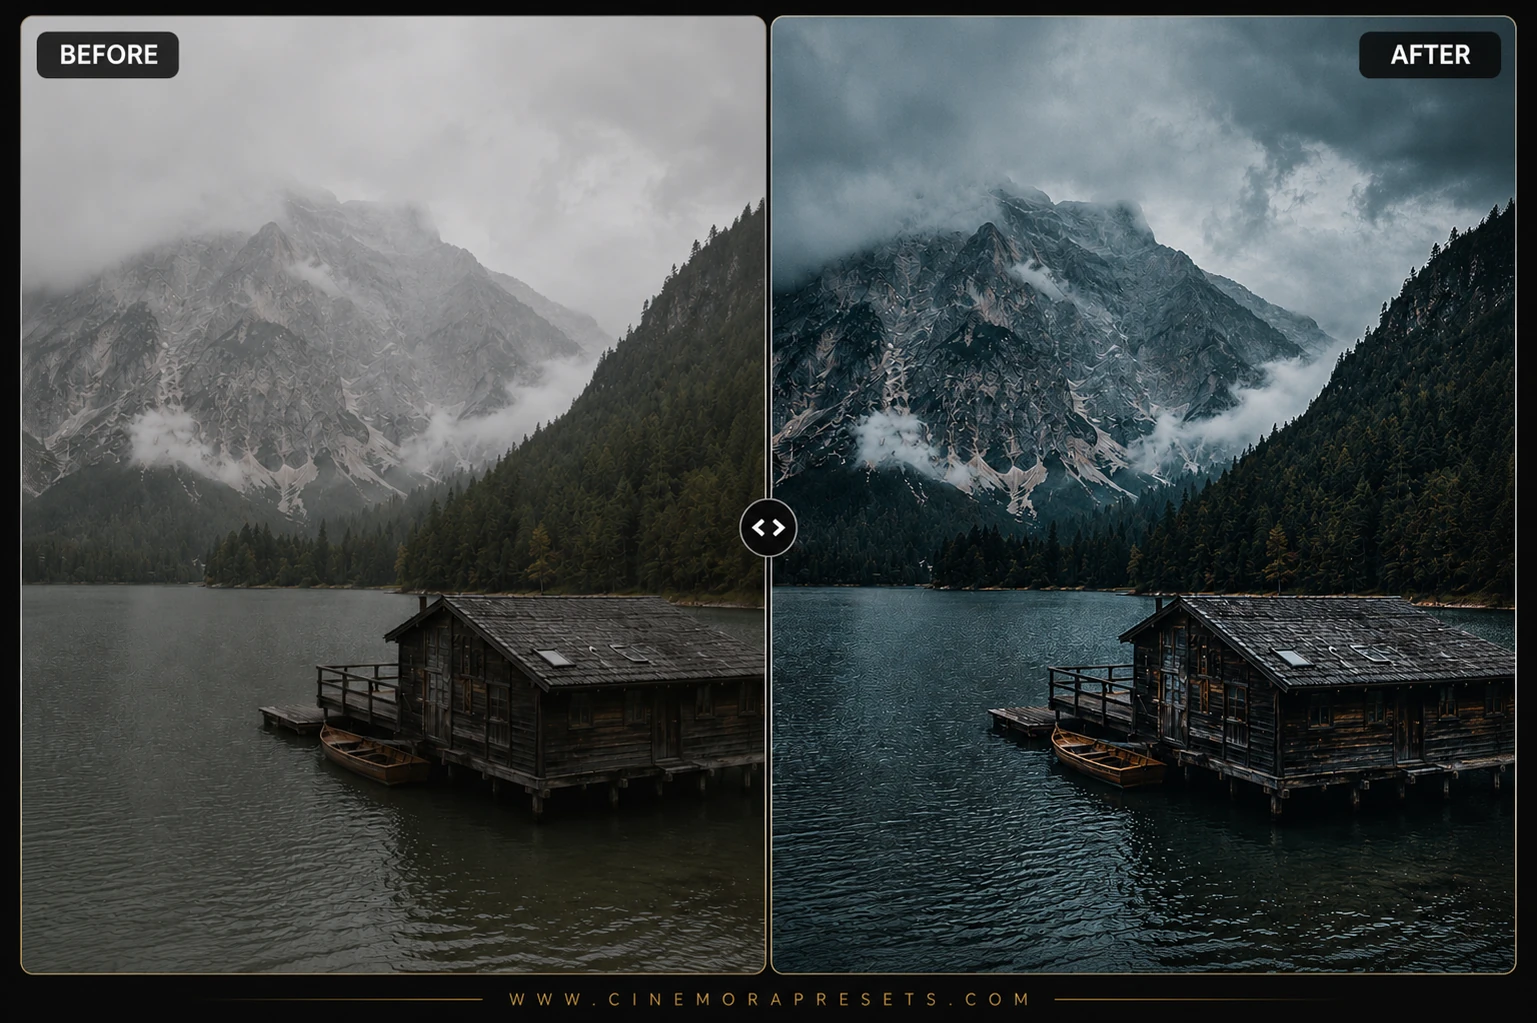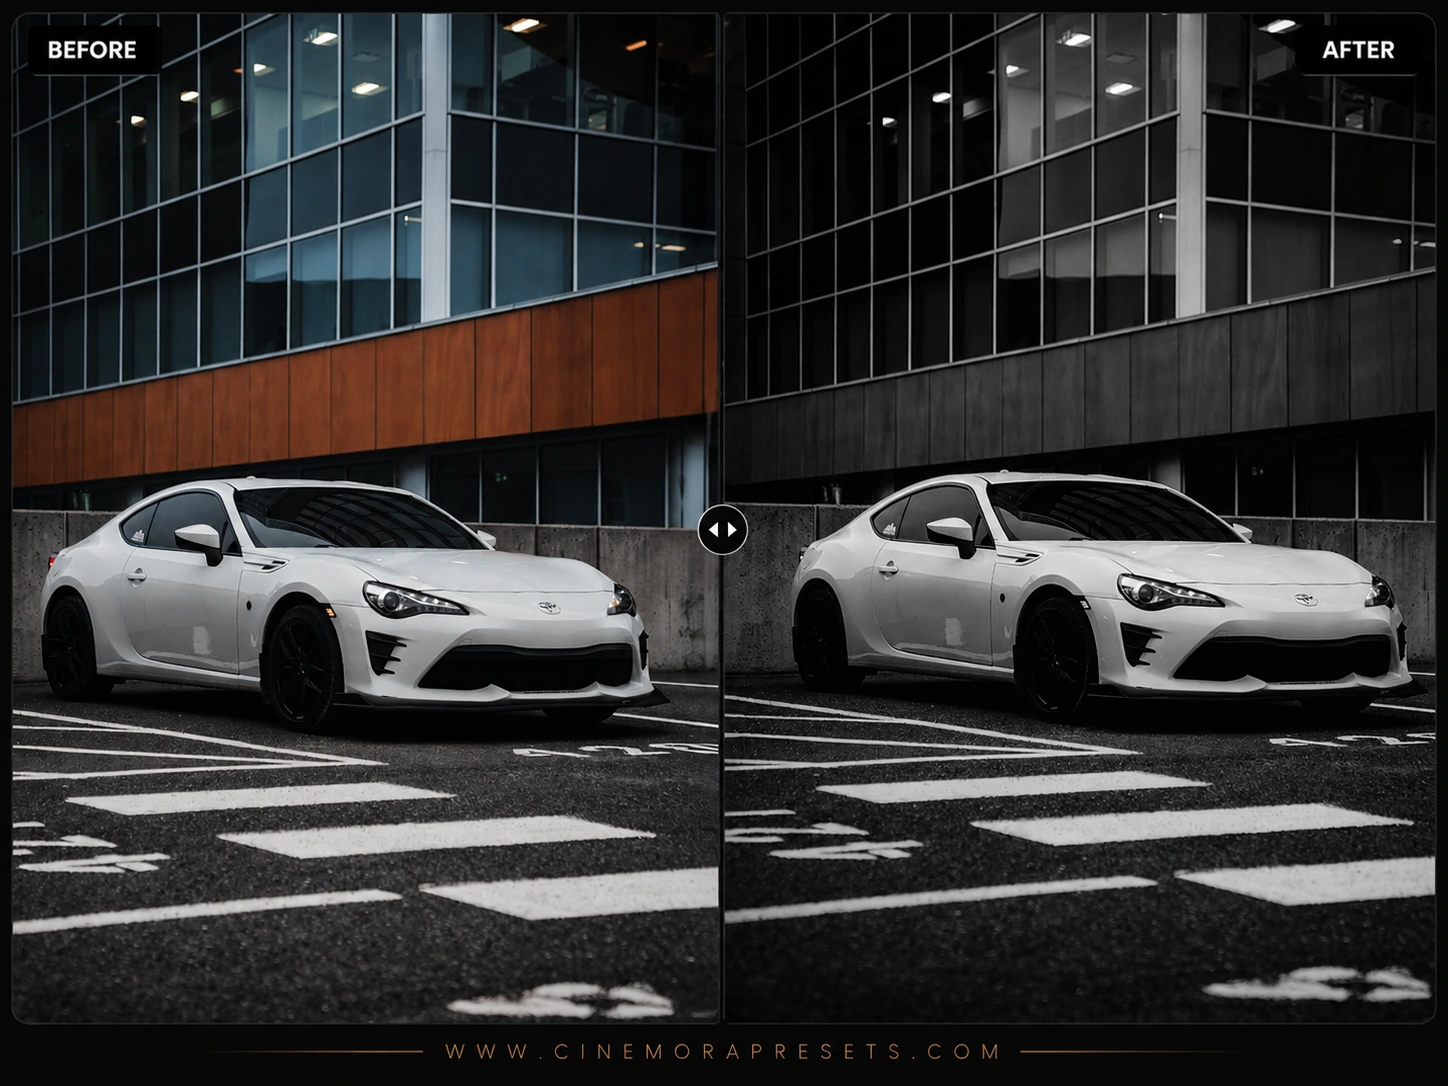
There is something really cool about a black and white photo. Stripping away the color makes you focus entirely on the shadows, light, and textures in the frame. But just clicking the black and white button in Lightroom usually makes photos look flat, gray, and boring. I designed these free Black and White presets to fix that. They deepen the shadows and make the highlights pop for a clean, classic print look.
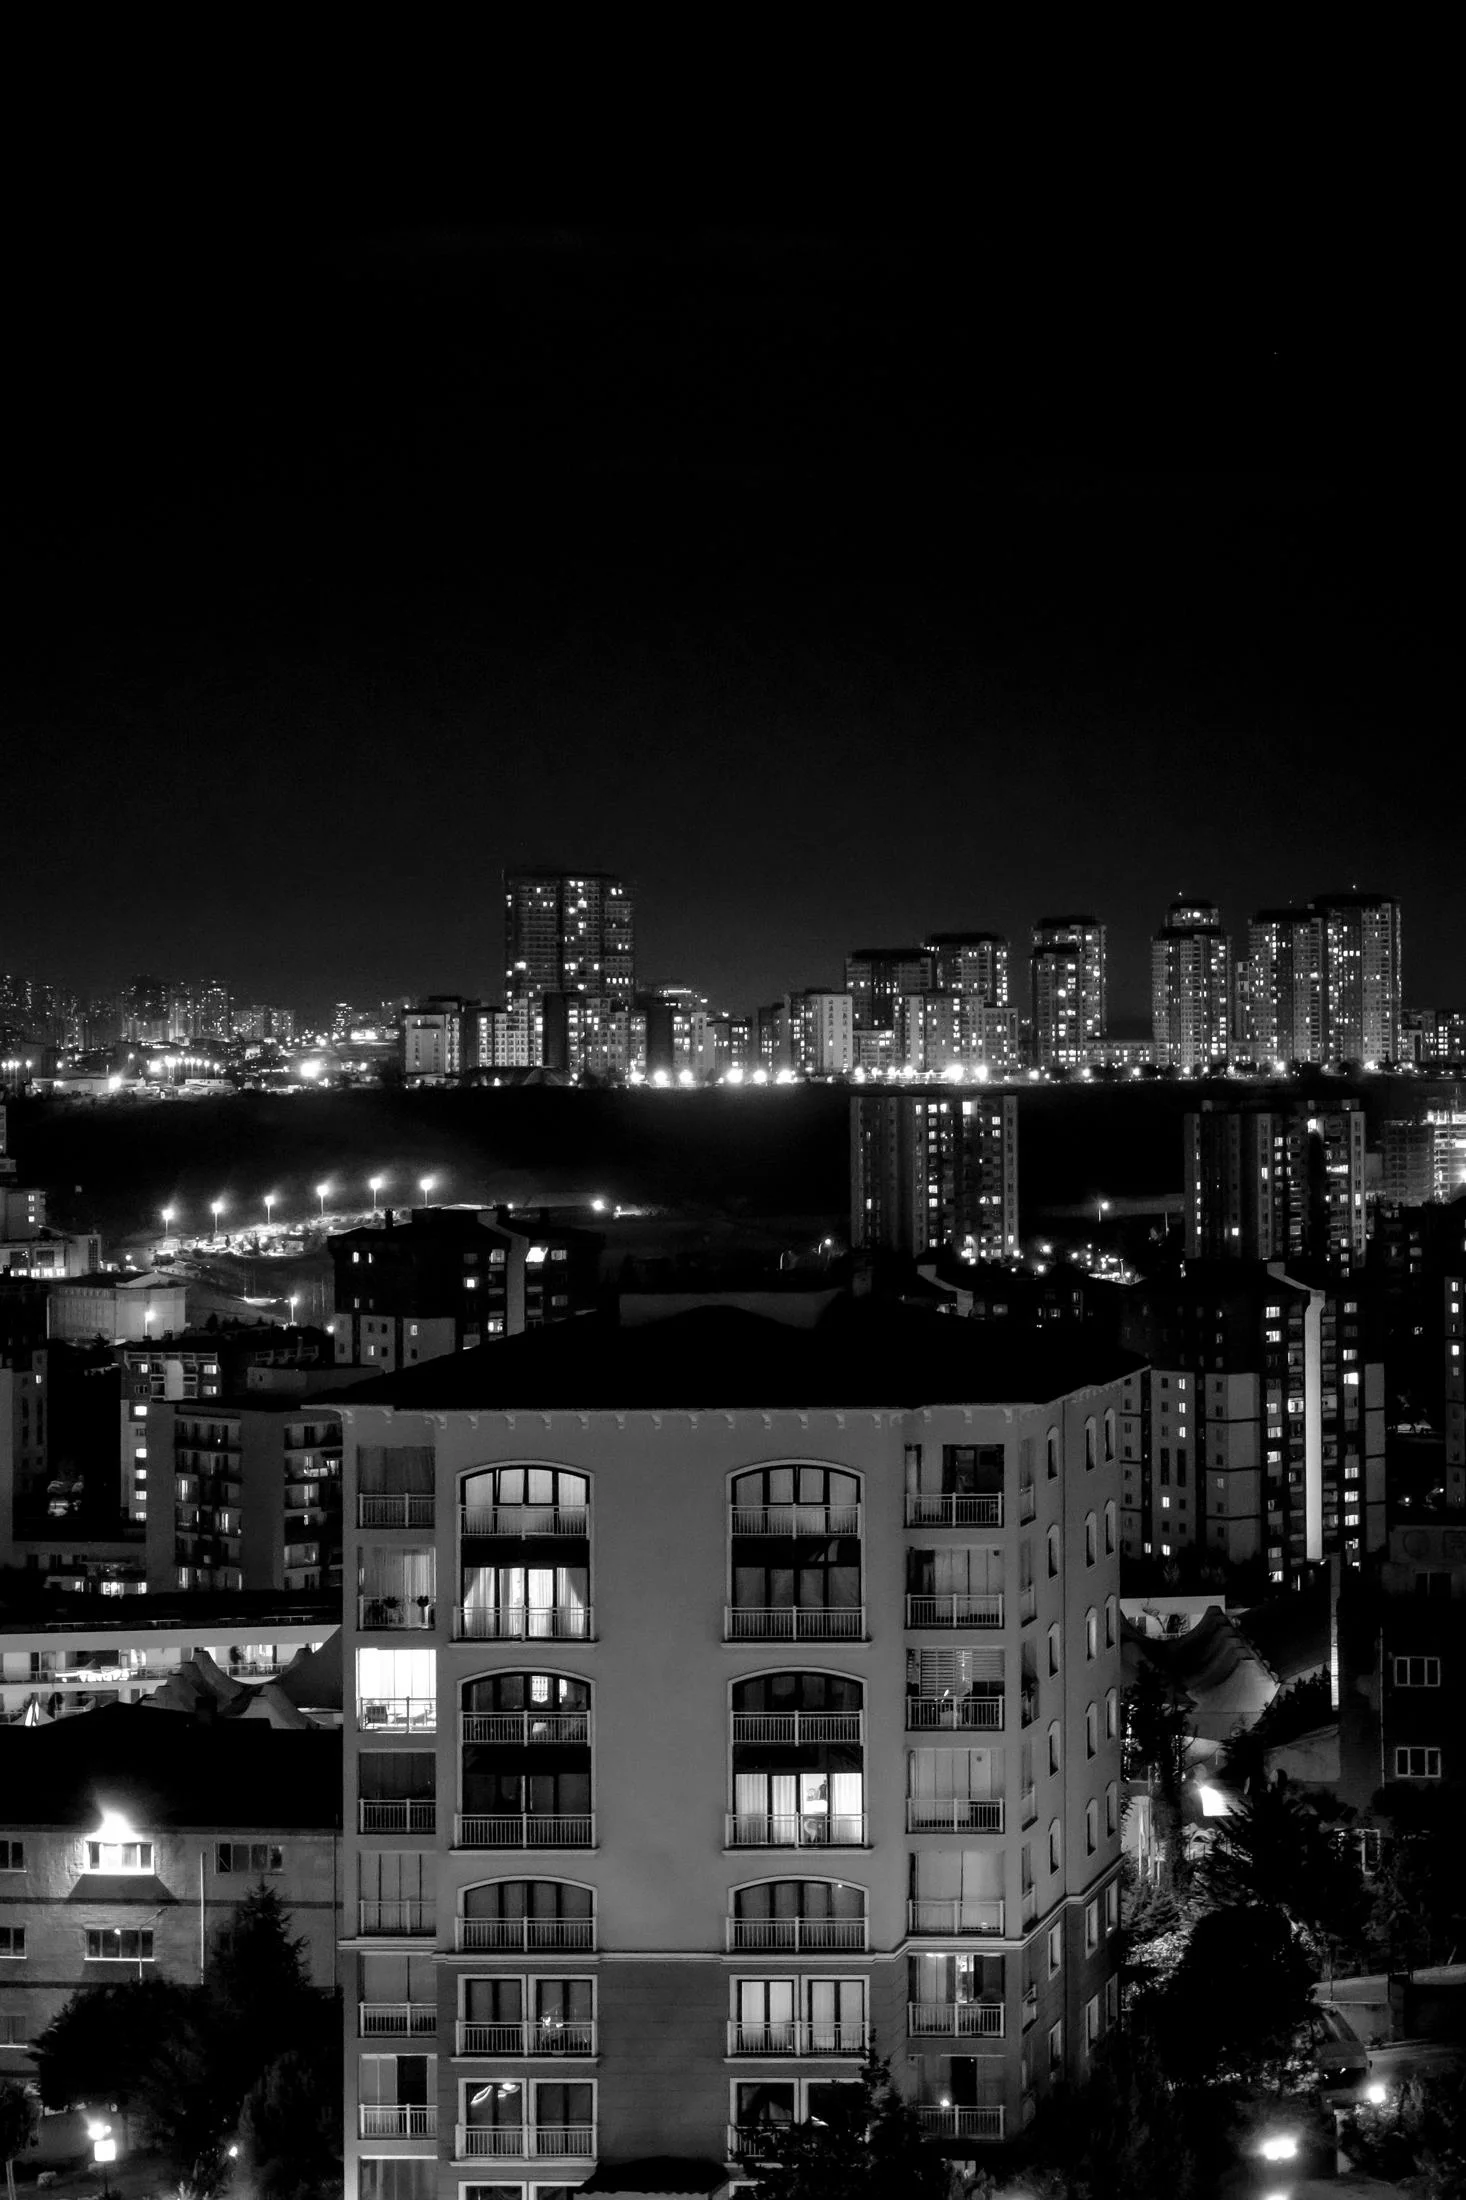
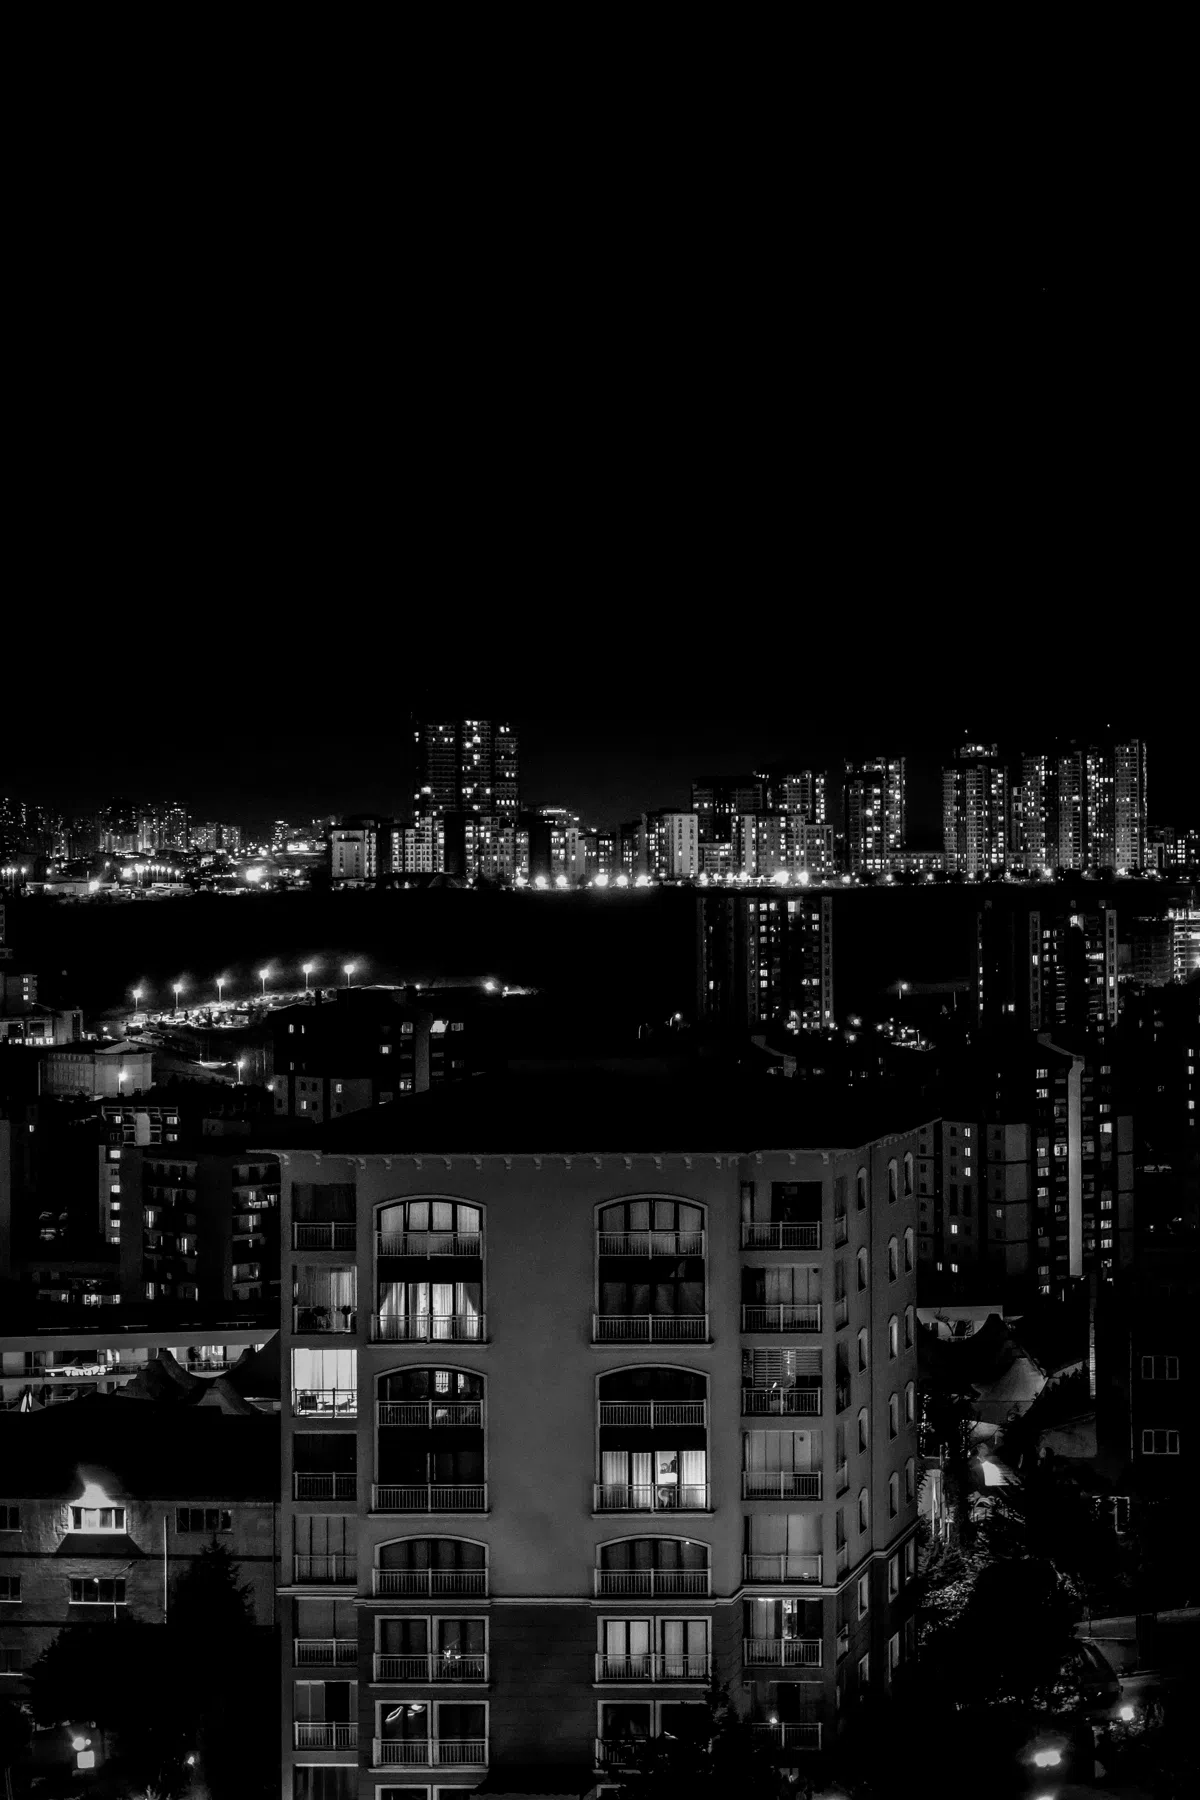
These work great for street scenes, moody portraits, and detailed architecture. They are in the standard XMP format, meaning they work exactly the same on Lightroom Mobile and Desktop.
Tips for Editing Black and White Photos
A good black and white edit is much more than just removing color. You want to use the color data hidden inside the photo to adjust how bright different areas look. Here is a simple, straight-to-the-point way to edit:
Matte Black & White Lightroom Preset Settings & Slider Values
Exposure: +0.05 | Contrast: +22 | Highlights: -30 | Shadows: +18 | Whites: +18 | Blacks: -22 | Clarity: +10 | Saturation: -100
For other dramatic high-contrast styles, check out our moody Dark Smoky presets.
Adjust the Color Mixer
Even though your photo is black and white, Lightroom still knows where the colors are. Go to the Black & White Mixer panel. Move the Blue slider down to darken the sky and make clouds stand out. Move the Orange and Red sliders up to make skin tones look bright and clean against the background.
Adjust the Contrast Curve
To keep your photo from looking muddy, you need a strong contrast curve. In the Tone Curve panel, make a classic S-Curve by dragging the highlights slightly up and the shadows slightly down. You can also lift the bottom-left point just a bit to fade the deep shadows for a clean, matte look.
Enhance the Texture
Since you don't have color to guide the viewer's eye, you need to use texture. Go to the Effects panel and boost the Texture and Clarity sliders. This makes details like brick walls, clothing, and concrete stand out beautifully.
Installation Guide
Setting up these presets on your phone or computer is very simple:
- Download the ZIP file containing the XMP preset files.
- If you need step-by-step instructions for your specific device, follow my guide on how to install Lightroom presets for instant setup help.
What's Included
This pack comes with custom presets to handle different lighting. You get 4 Noir Contrast filters for heavy, dramatic shadows, 3 Soft Portrait filters for clean skin tones and smooth gray transitions, and 3 Grainy Film filters that add a bit of retro analog grain.
How the Tones Look
The general style focuses on clean highlights, deep shadows, and rich textures. It is adjusted to darken blue skies so clouds stand out, and to keep orange and red tones bright so skin looks clean and well-lit.
Best Photos to Use
These work best on high-contrast shots, street photography, textured details, and backlit portraits. Avoid using them on extremely flat or dark photos unless you want a very soft, gray look.
After downloading, extract the ZIP file and import the XMP presets into Lightroom.