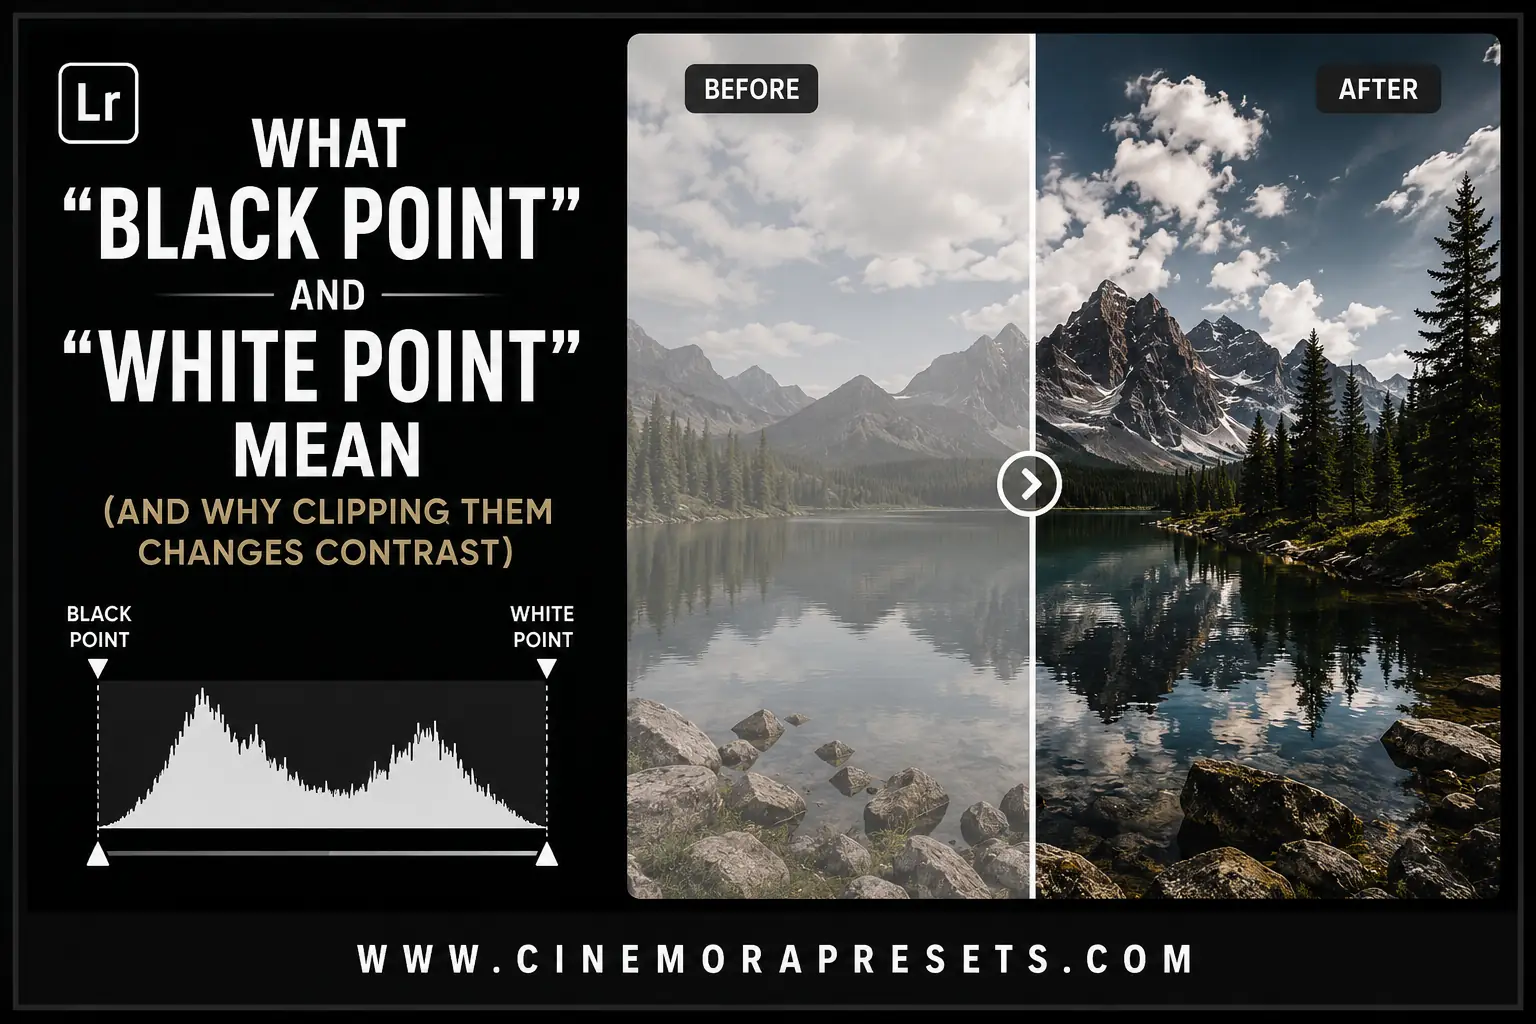
When you first start editing photos, sliders like Whites and Blacks can feel a bit mysterious. You know they change the brightness and depth of your image, but what are they actually targeting?
Understanding these two core settings—and how they affect contrast—is one of the fastest ways to improve your photo editing skills.
Demystifying Black Point and White Point
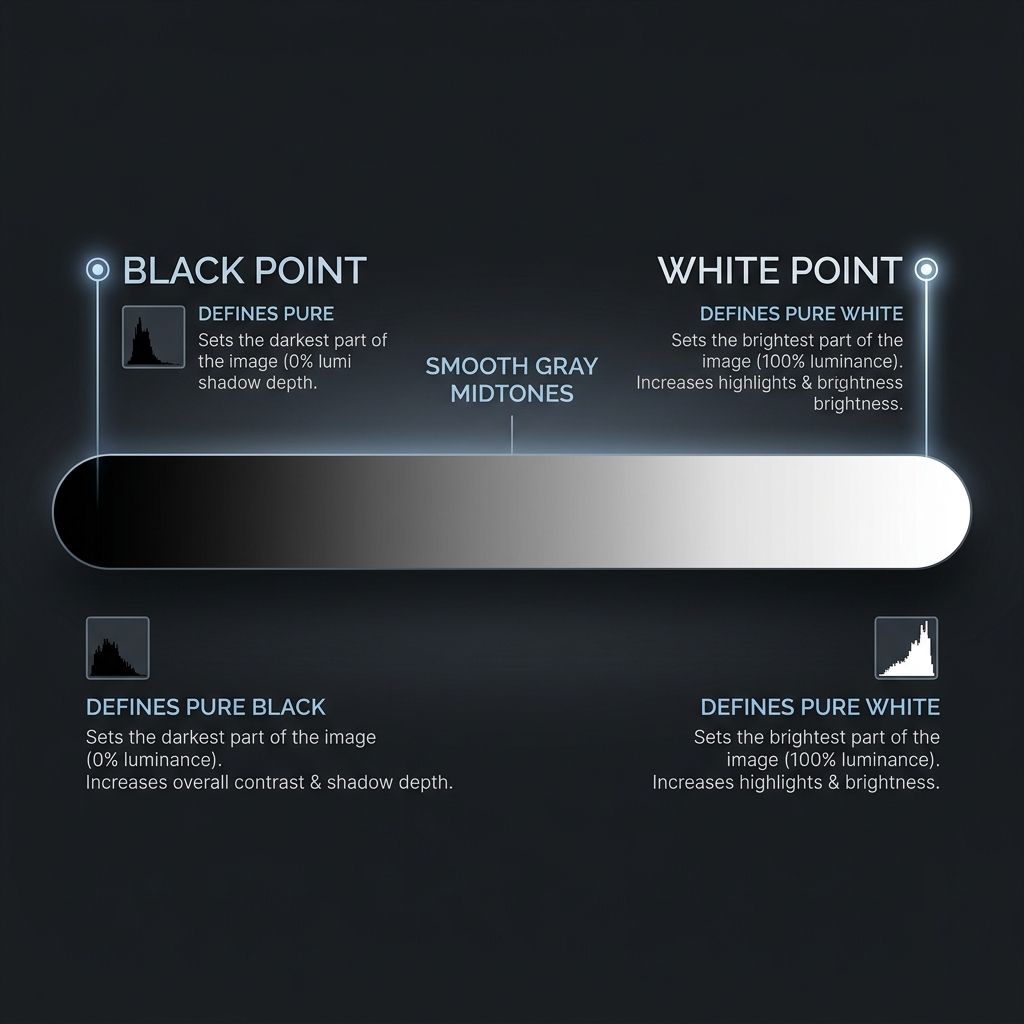
The black point represents the absolute darkest tone in your image, while the white point represents the absolute brightest. Every other shade and color in your photo sits somewhere between these two markers.
When you adjust these points, you are setting the boundaries for your photo's brightness scale. You are telling the software where pure black and pure white should begin.
Understanding What "Clipping" Does to Your Details
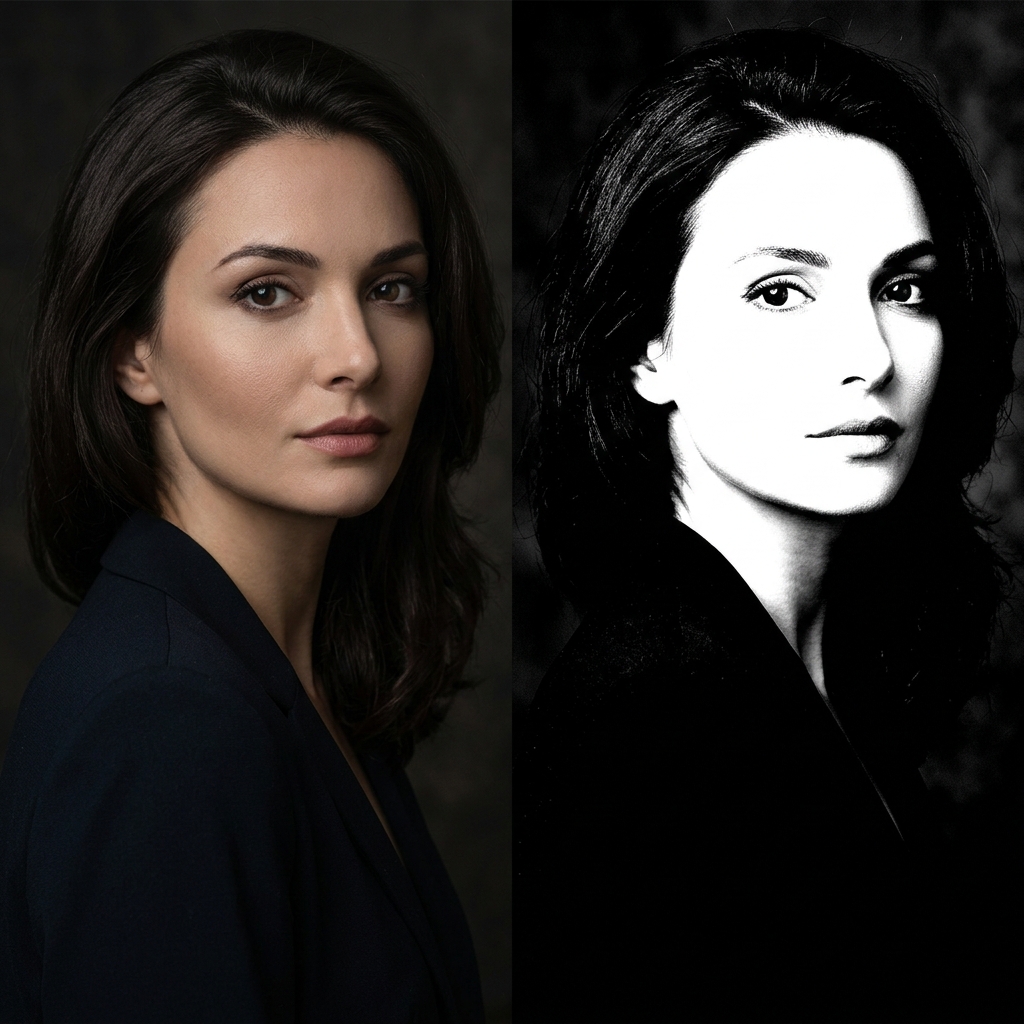
Clipping happens when you push your whites or blacks too far. When this occurs, the details in those bright or dark areas get crushed into pure flat colors.
Instead of a smooth gradient showing textures or shadows, you get a solid block of pure white or pure black. Once this detail is clipped, it cannot be recovered.
How Tonal Range Compression Shifts Contrast
Contrast is not just about making things brighter or darker. When you bring your black and white points closer together, you are compressing the tonal range of your photo.
This compression stretches the remaining colors and shades across that new, smaller space. This stretching is what makes your colors look punchier and more dramatic.
A Simple Lightroom Trick to Spot Clipping Instantly
Lightroom has a hidden feature that shows you exactly when you are clipping details. Simply hold the Alt key (Option on Mac) while dragging the Whites or Blacks slider.
The screen will turn black or white and show colored pixels where details are starting to get lost. This lets you make precise changes without guessing.
Creative Style Choice vs. Editing Mistake
Clipping your blacks slightly can give your photo a bold, vintage, or moody look. This is a very common and intentional choice in many popular photography styles.
However, clipping your whites is usually a mistake. Blown-out details on skin tones or skies look harsh and cannot be saved, even if you are editing a RAW file.
Final Word: Balance Style and Detail
Keep an eye on your histogram while you edit. Some clipping can be a great creative choice, but too much of it will leave your photos looking flat and detail-free.
Frequently Asked Questions
What is the difference between black point and shadow slider?
The black point sets the absolute threshold for pure black, while the shadows slider adjusts the brightness of dark tones without forcing them into pure black.
Is clipping always bad in photo editing?
No. Clipping blacks can create a desirable matte or high-contrast look. However, clipping whites is usually avoided because it destroys detail in bright areas.
How do I see clipping in Lightroom?
Hold Alt (Option on Mac) while moving the Blacks or Whites slider, or click the small triangle icons in the top corners of the histogram panel.